
The summer has all but gone, and I’m still not nearly done with the electric conversion. The house on the other hand is a lot closer to finished and when that’s done there’ll be much more time for hobby projects like this. 🙂
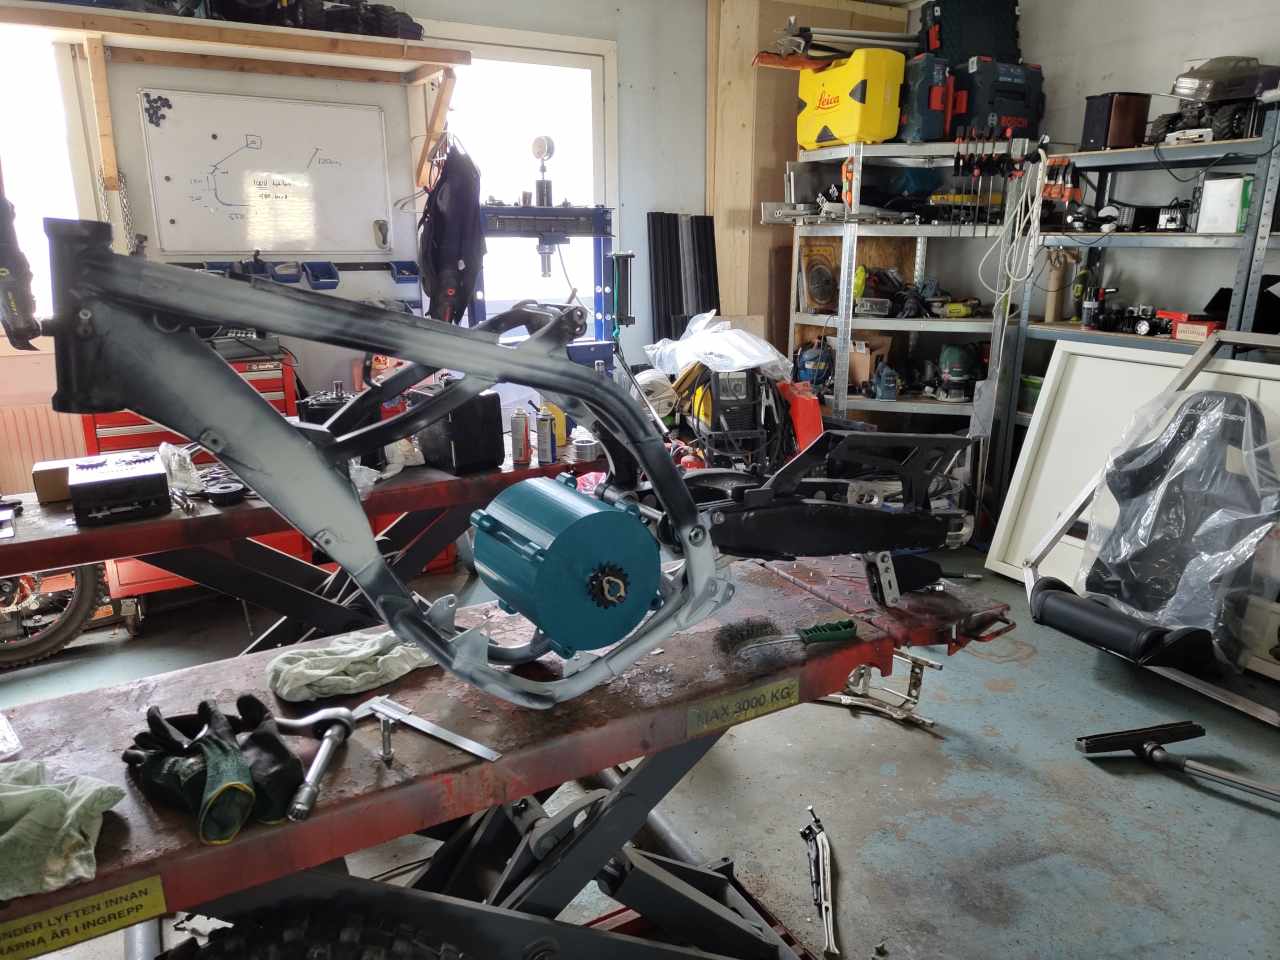
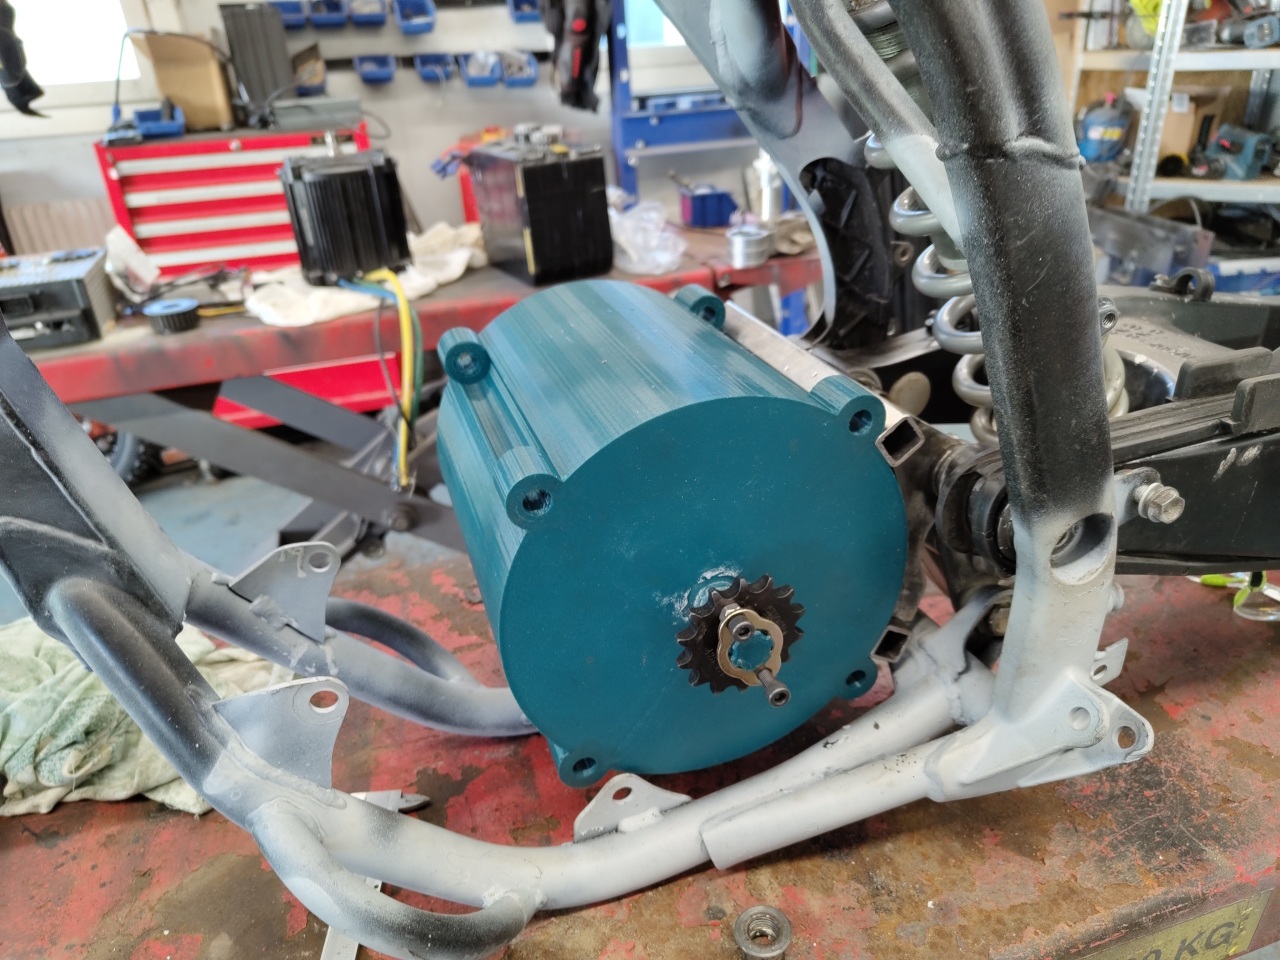
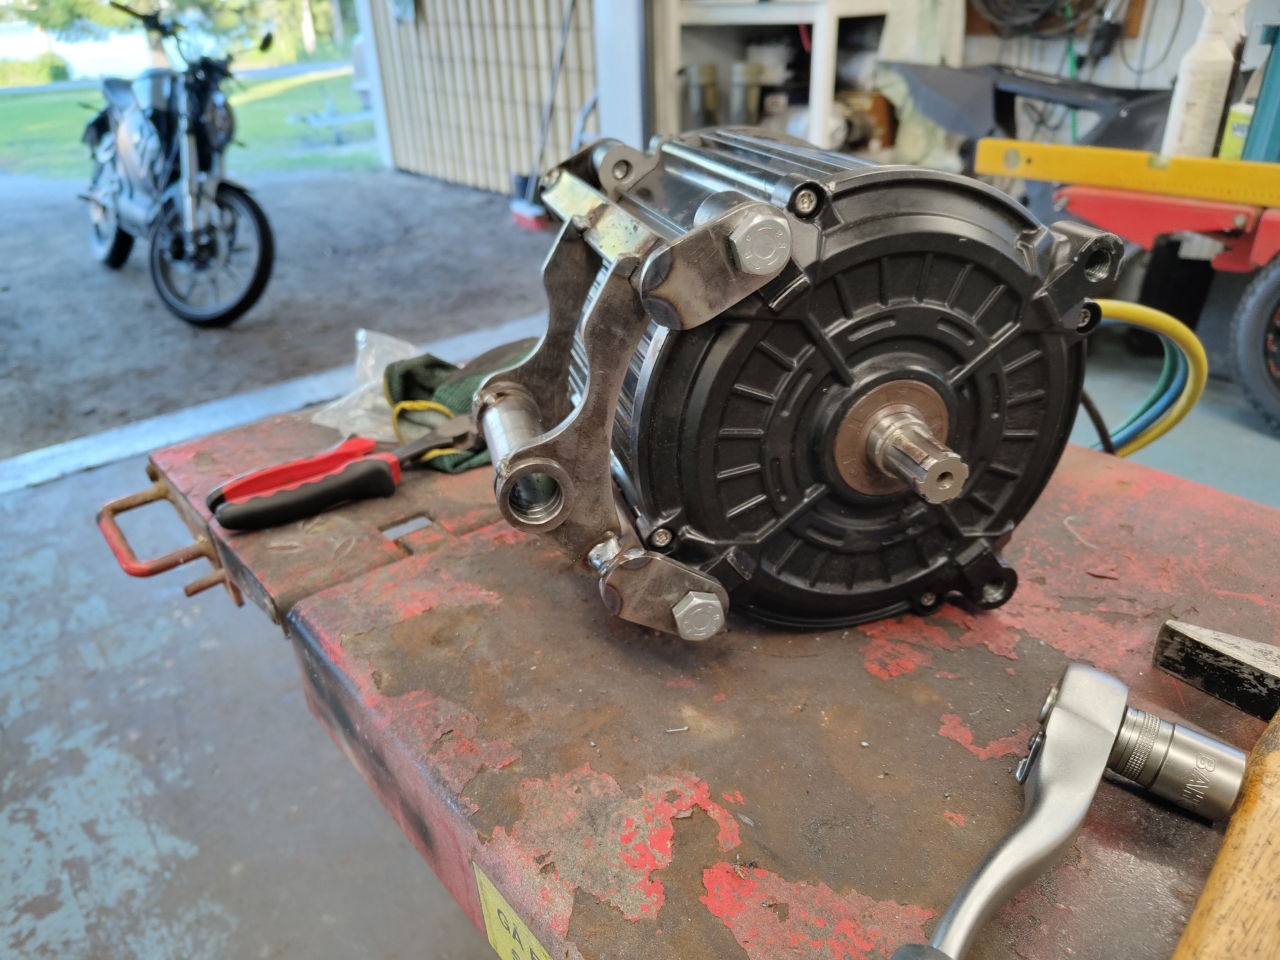
The QS180 motor is a heavy beast and to be able to mock the location for the motor in the frame I 3D-printed a shell with the same dimesions as the motor.
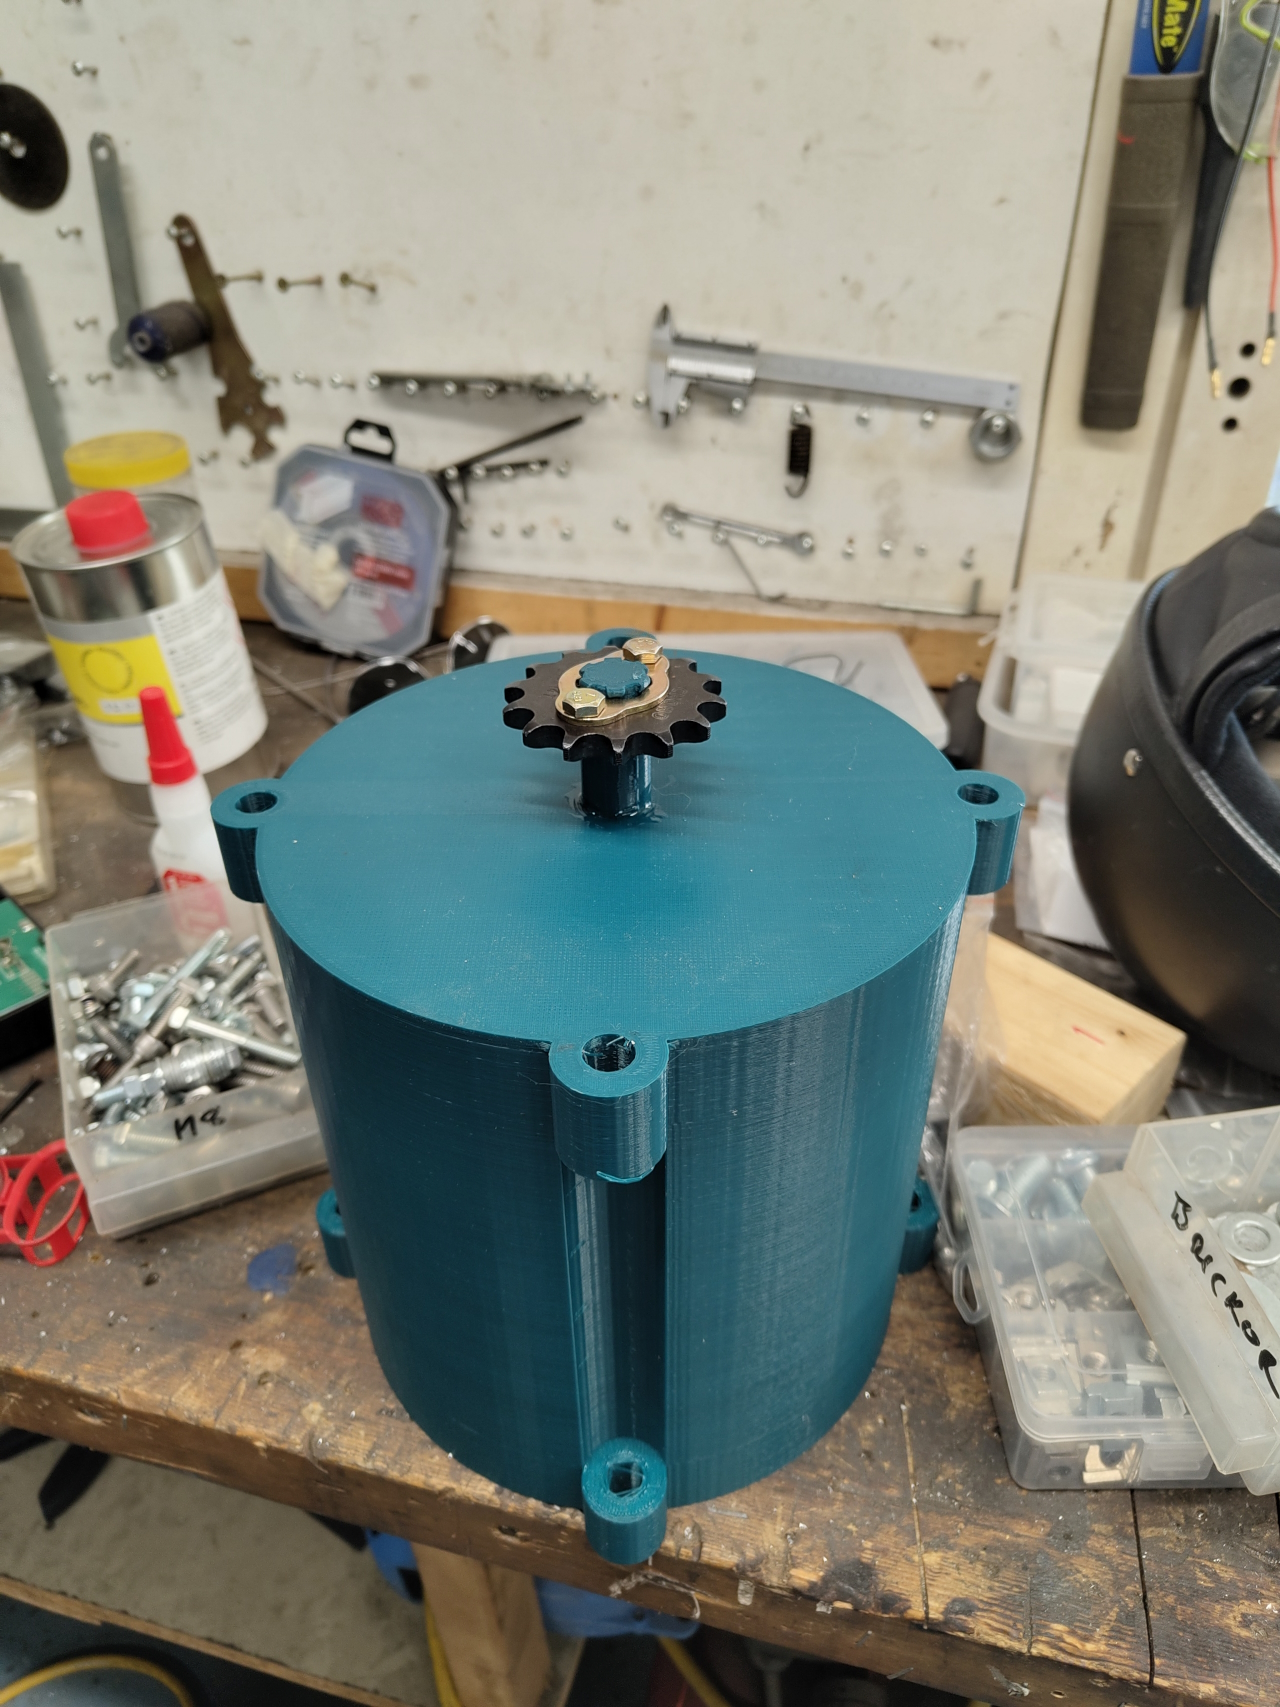
This makes moving the mount around to find the perfect alignment much easier than using the proper motor.
Before starting the building of the bike I had to do some maintenance to the frame though.
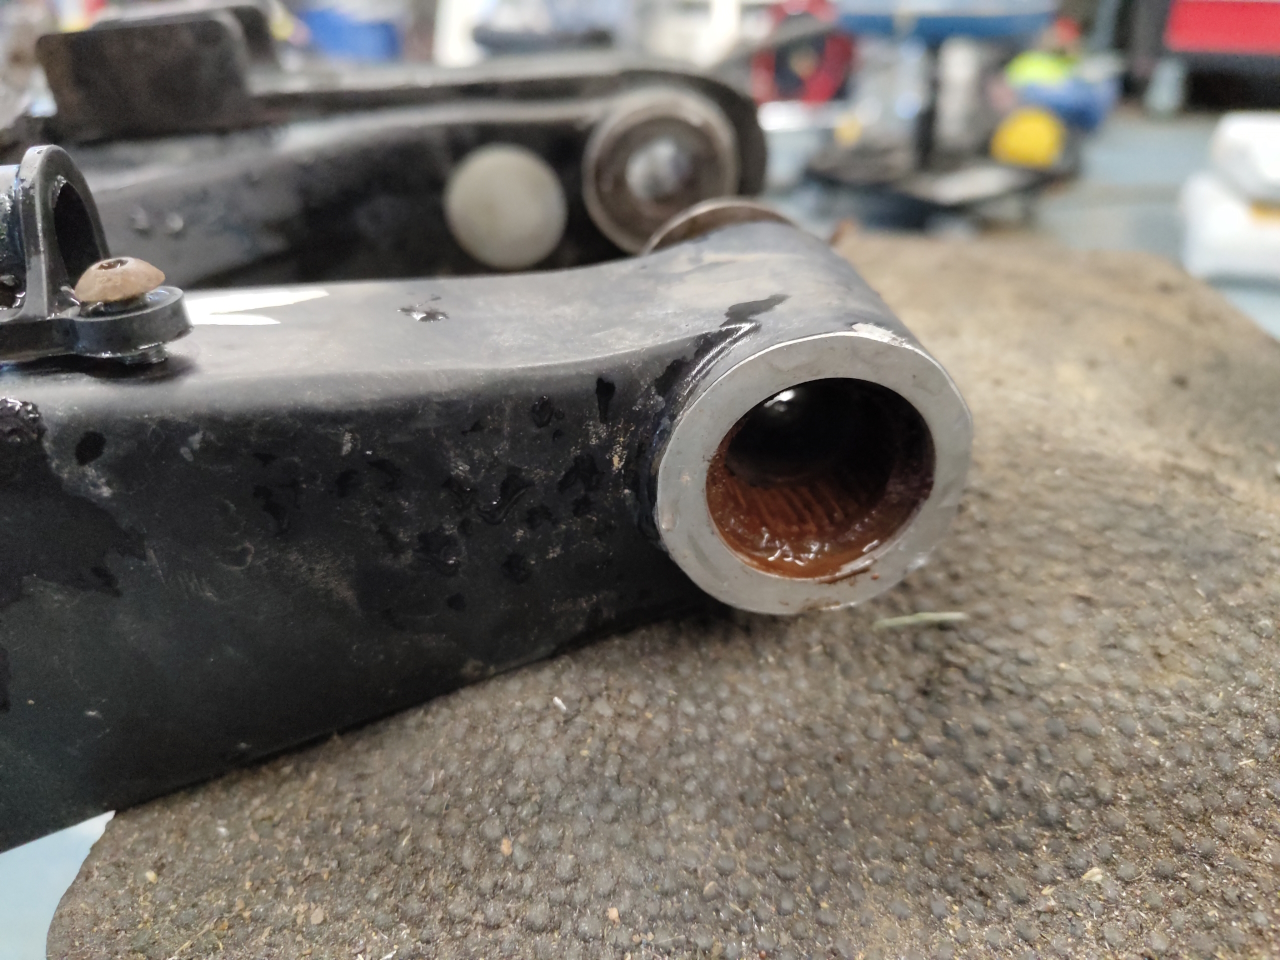
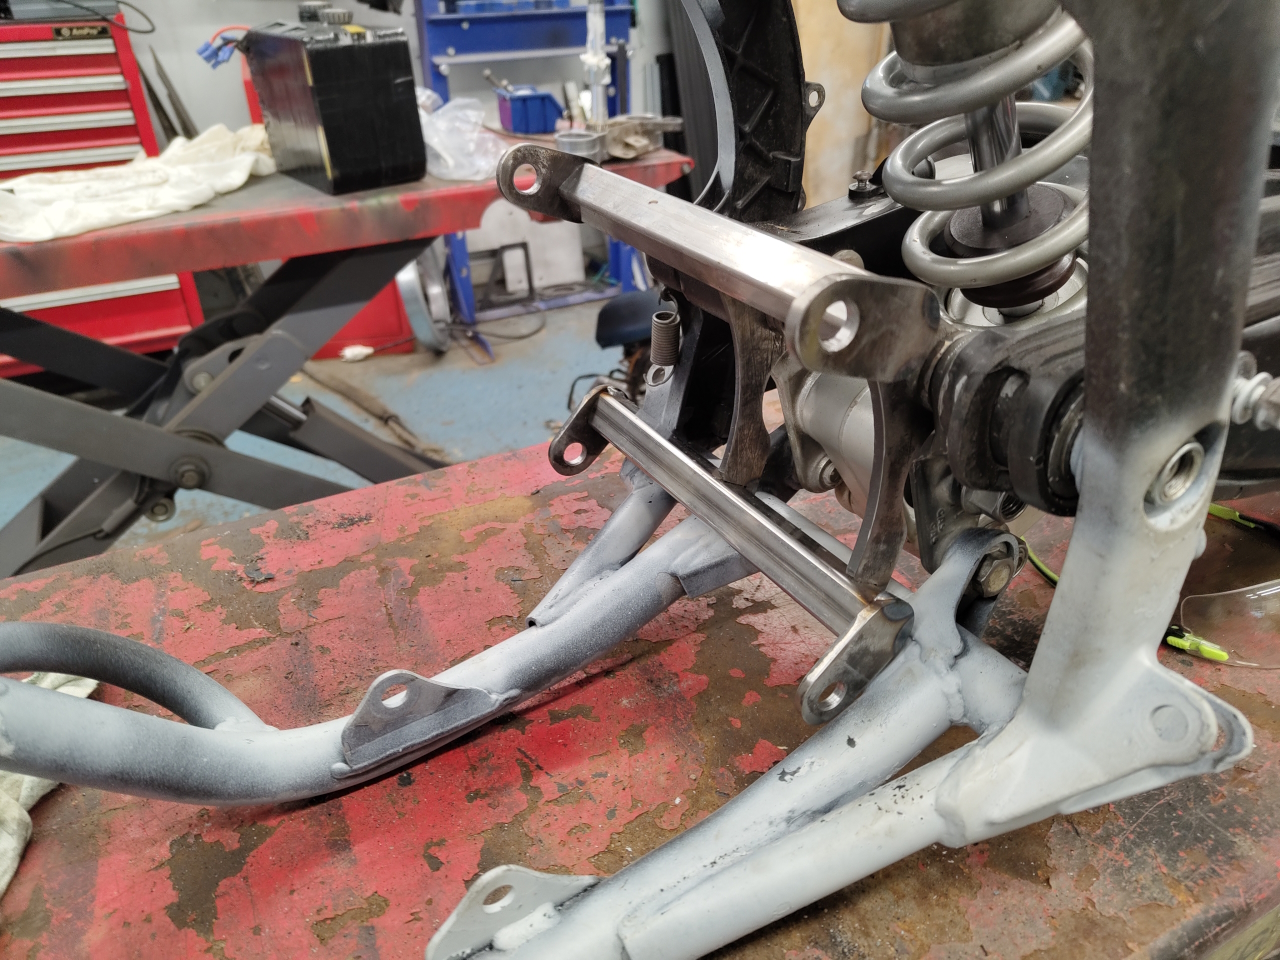
The swingarm bearings were long past their due date and consisted more of a rusty goo than actual rollers. The bushings did not rotate in the bearings, so these had to be replaced.
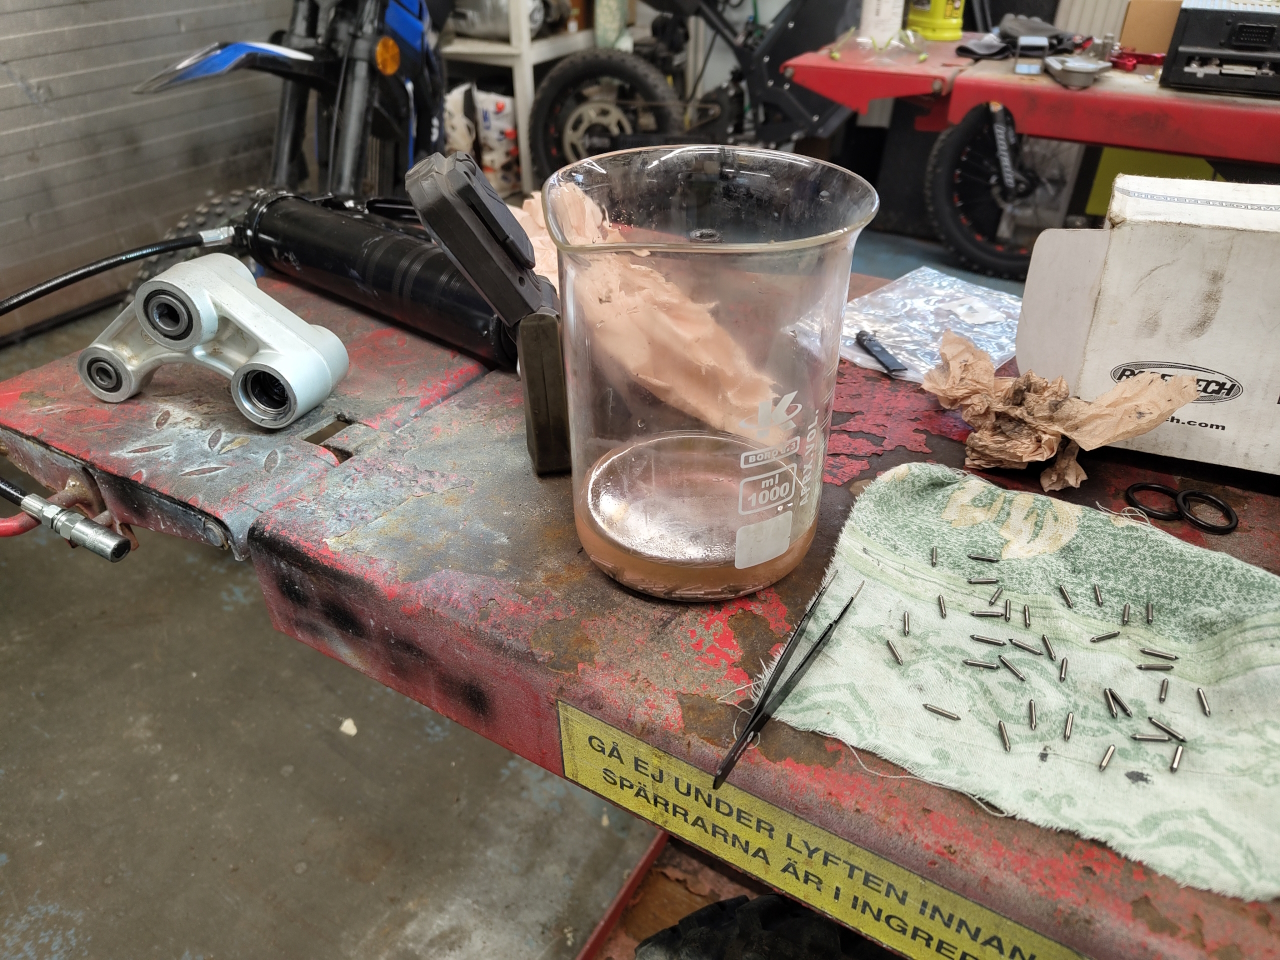
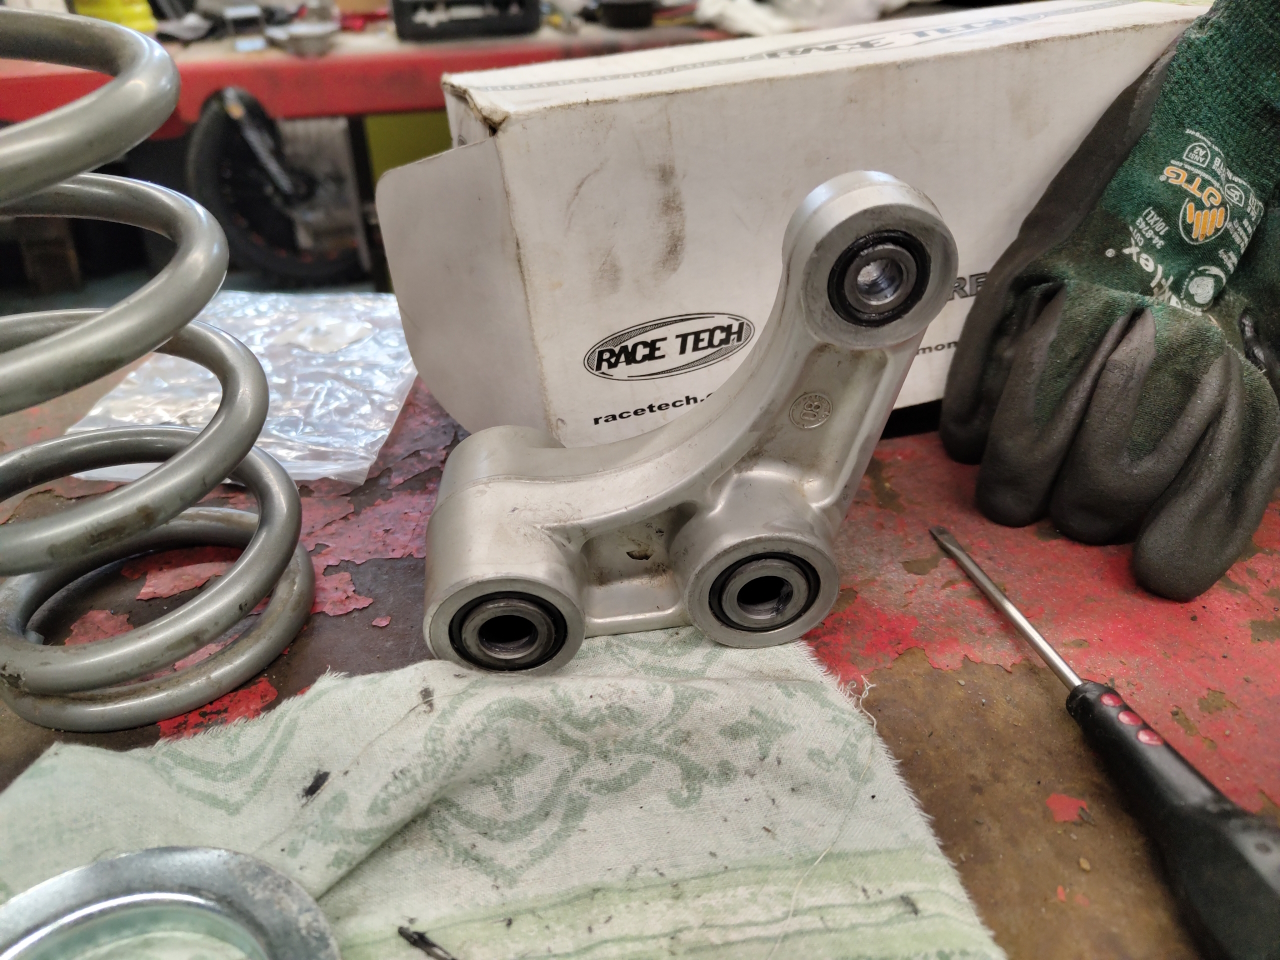
The bearings in the dogbone were in better shape and after a good rinse and lube were working alright.
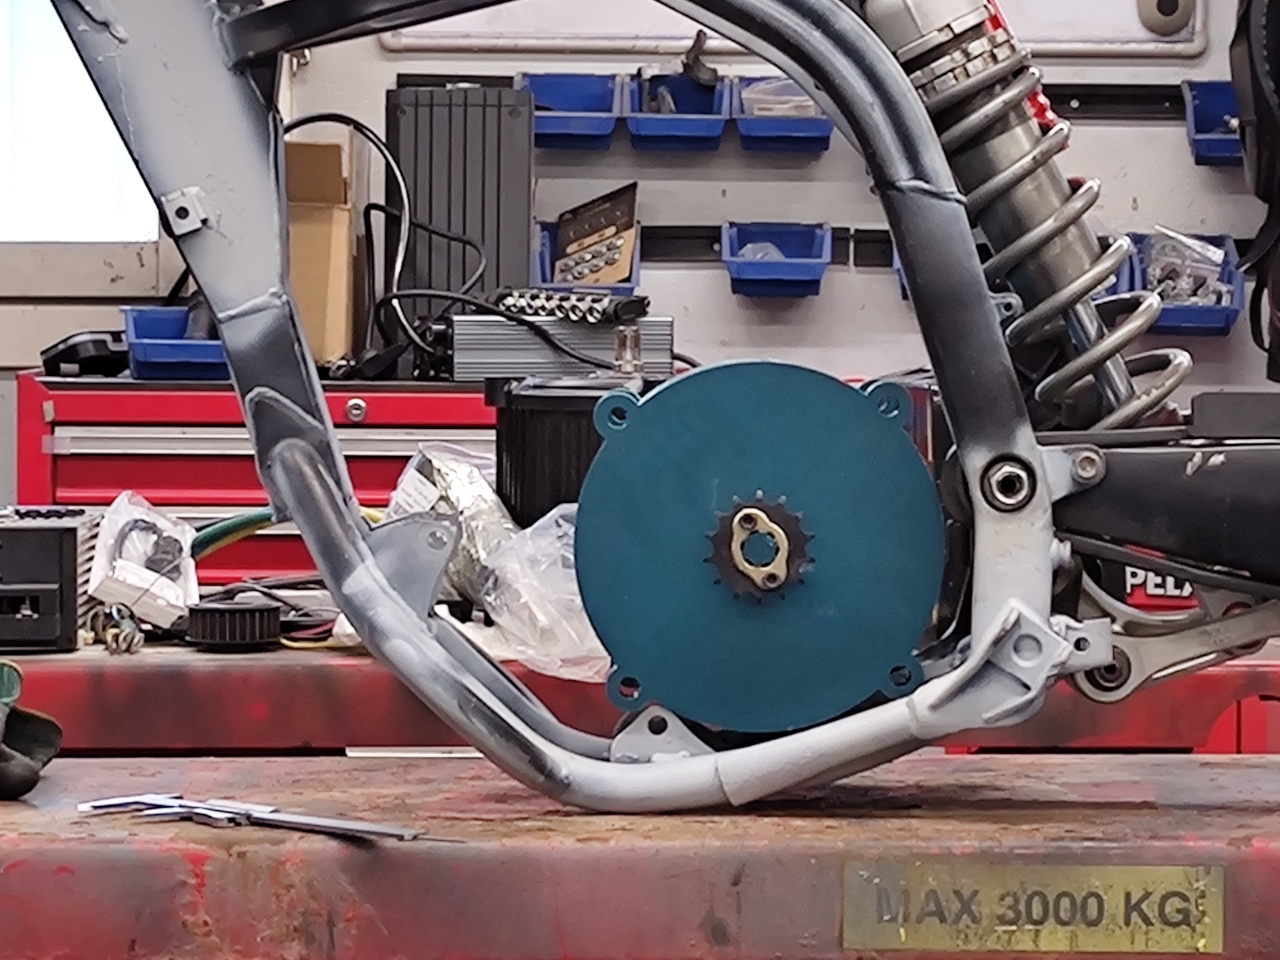
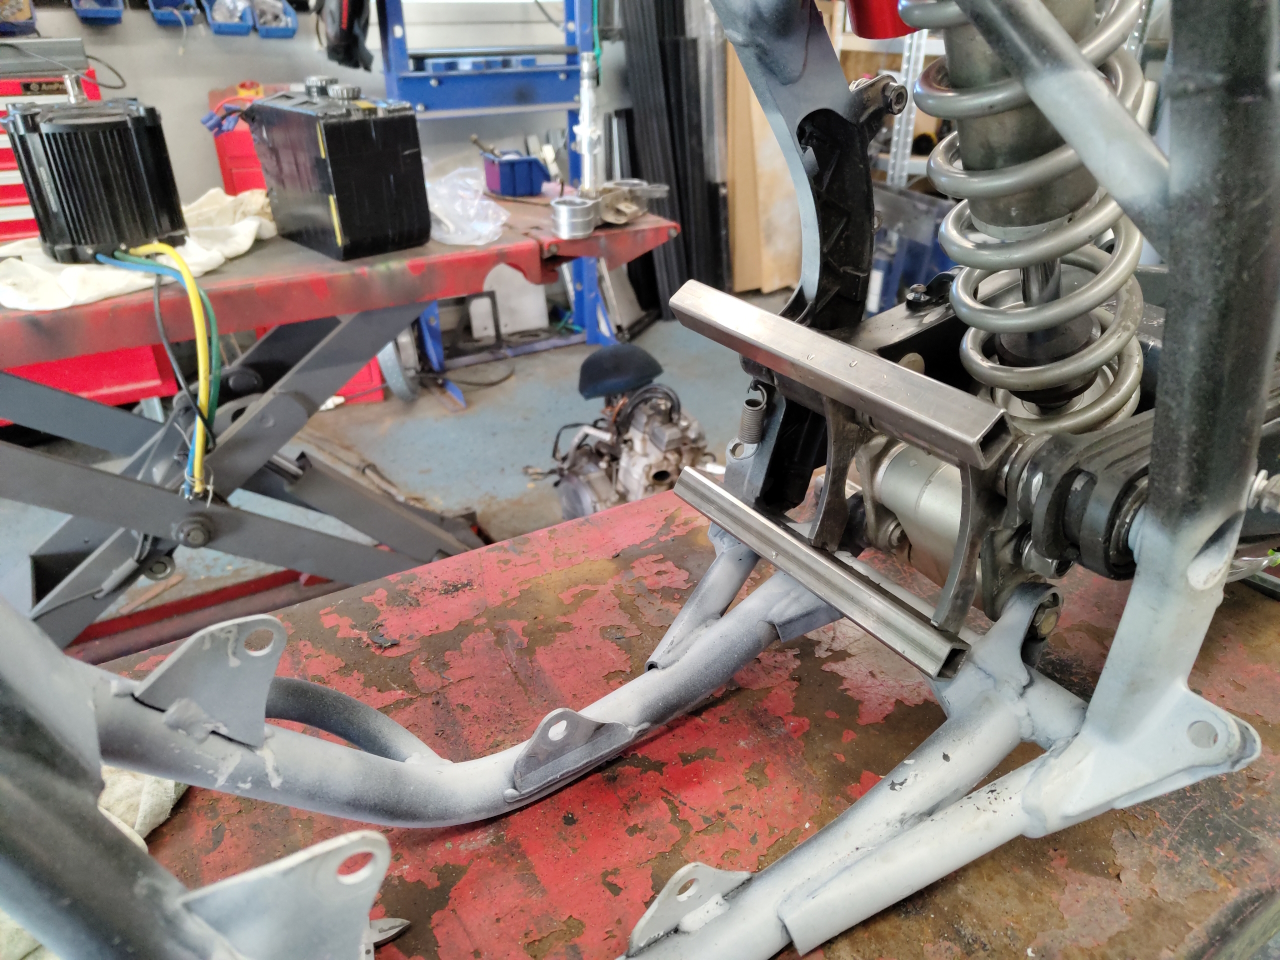
After replacing and restoring the bearings I could mount the swingarm on the frame to check for motor alignment..
To get the swingarm to sit right I needed the shock absorber and it was fitted with a spring I didn’t like, so the next project was replacing the spring on the shock.
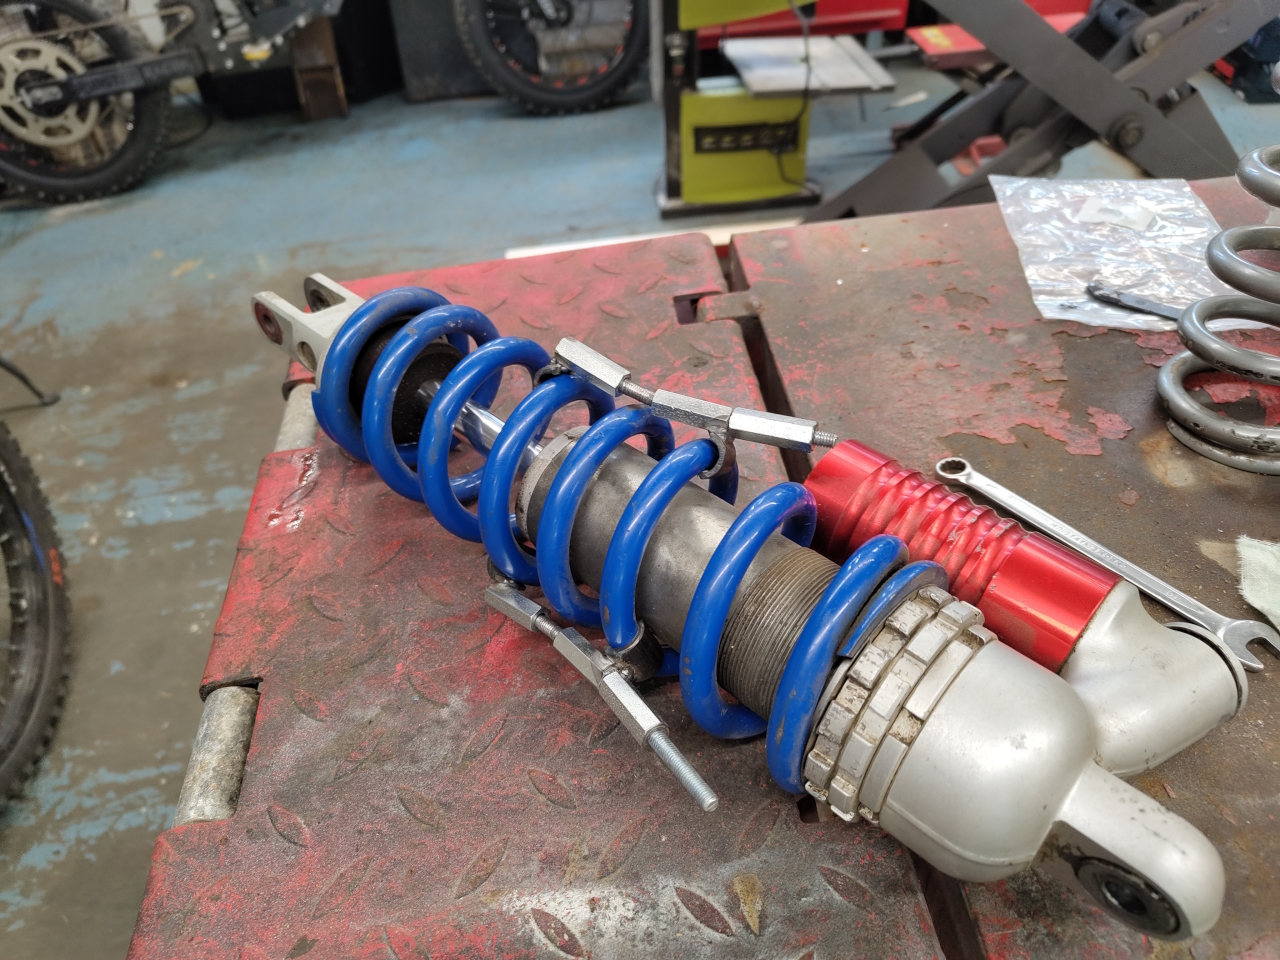
I made tools for this a long time ago and even if they’re a bit bendy they still work just fine. Taking the shock apart, cleaning it up and putting it together took no time at all.
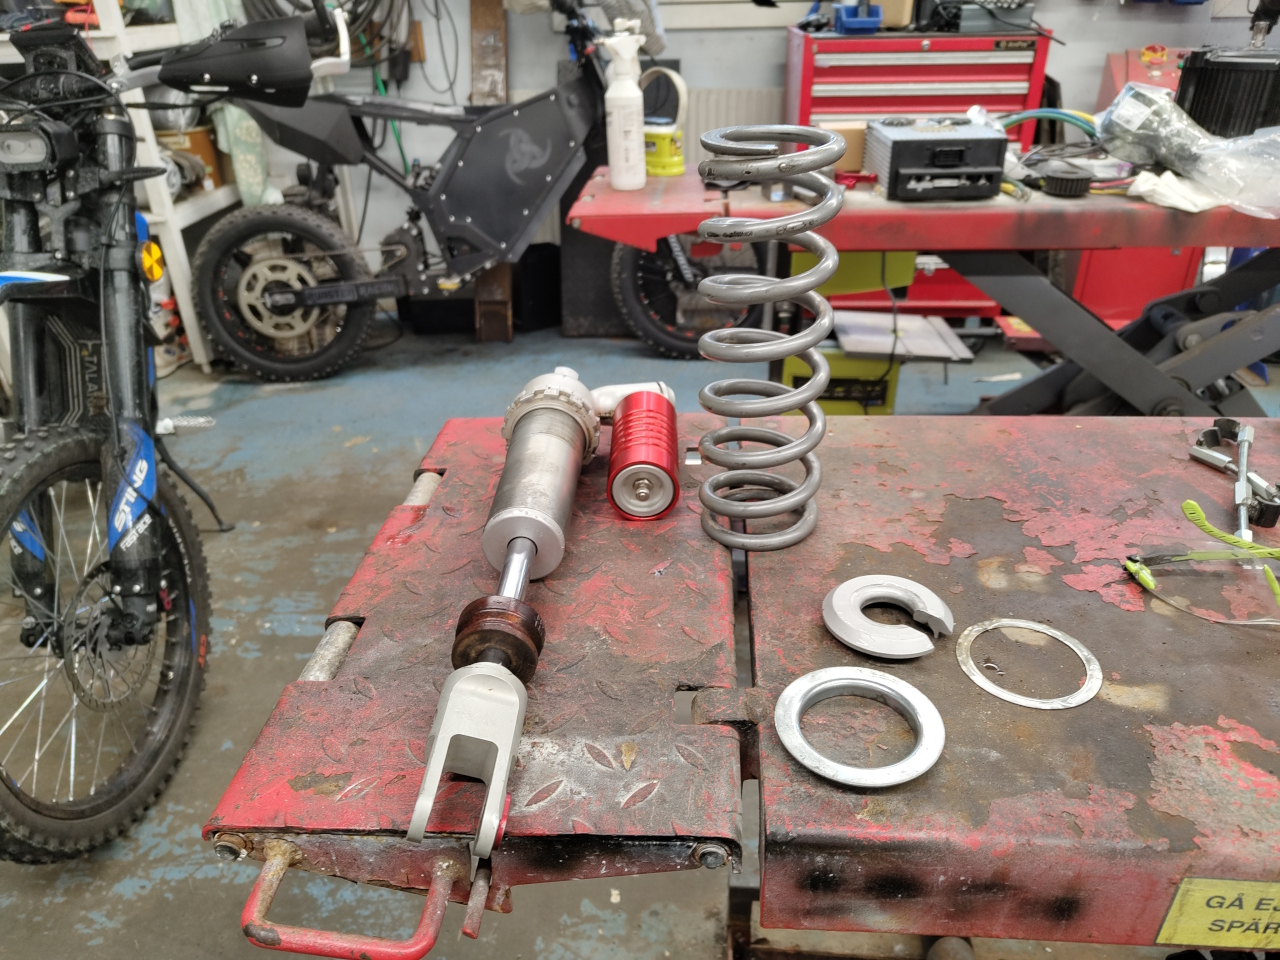
.. and then the shock absorber got back in the frame ..
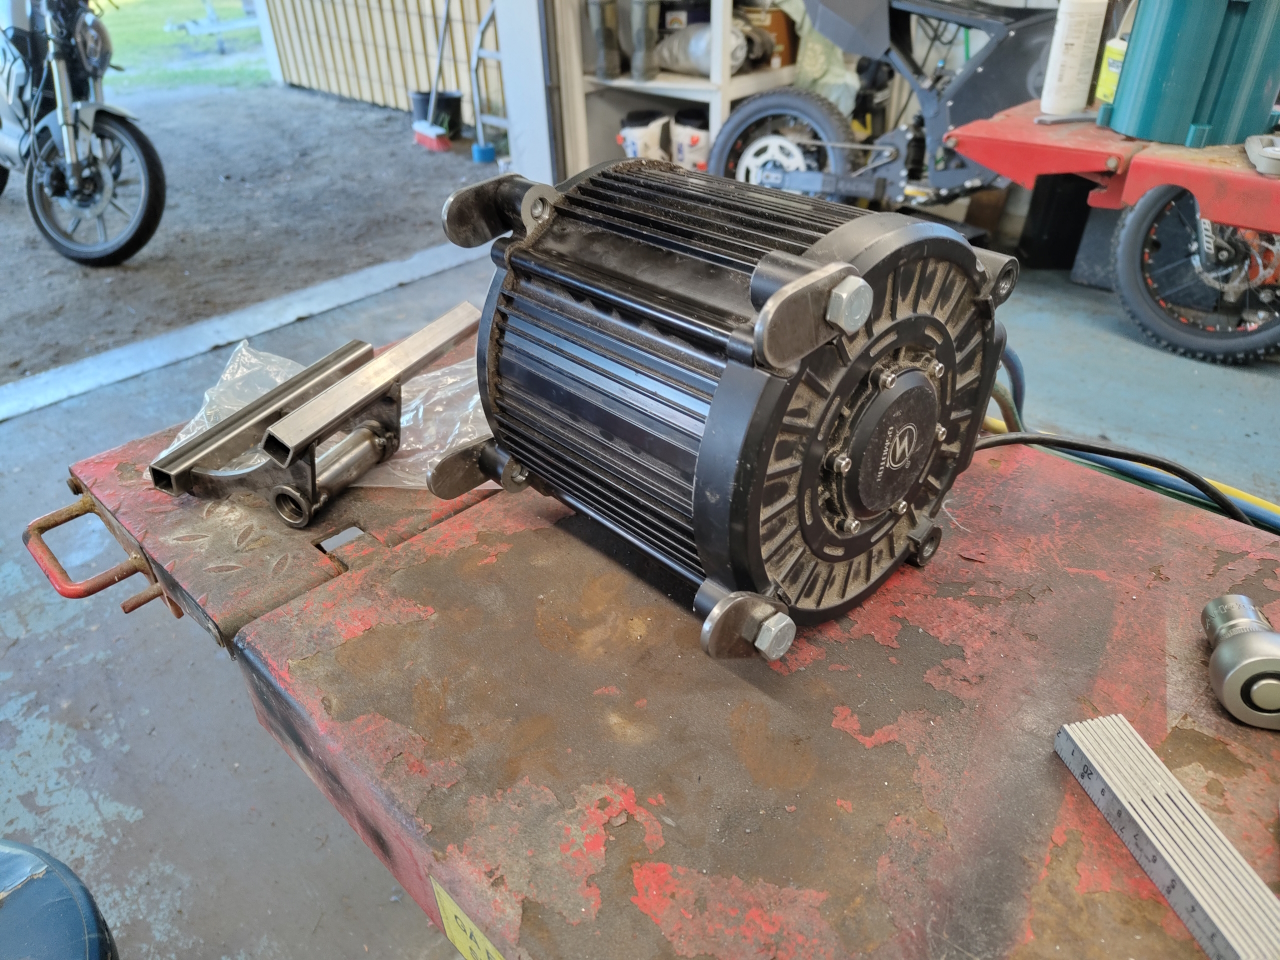
Since I want to do as few modifications to the original frame as possible I started designing a motor mount that’d mount to the same points as the 250cc motor, ie four bolt holes in the front and the swing axle in the back.
I’ve got some old forks for a tractor that I don’t have, and those are made from 6mm steel tube. Perfect material for a motor mount I thought, and the plasma cut the forks like butter.
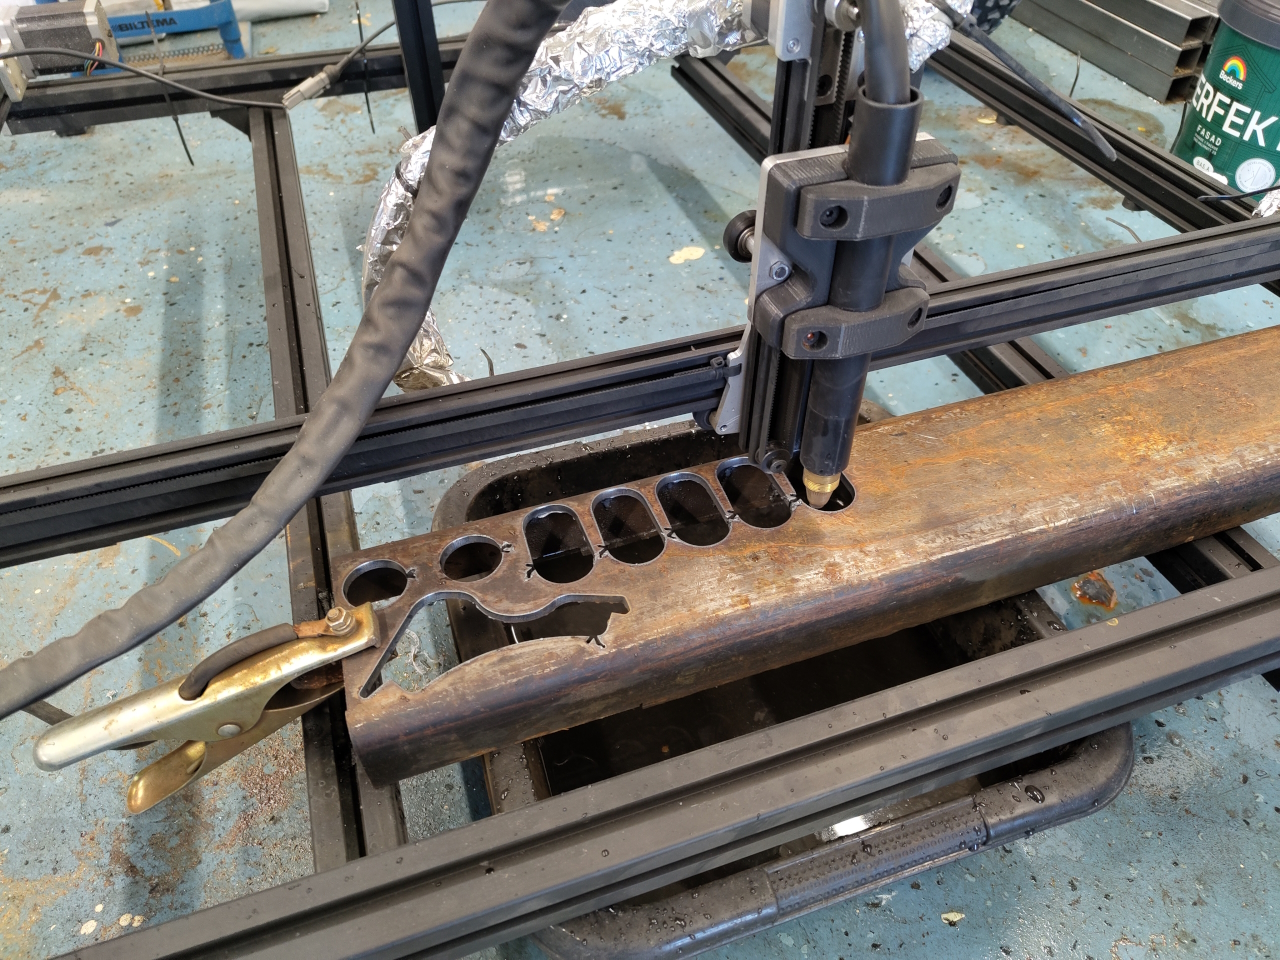
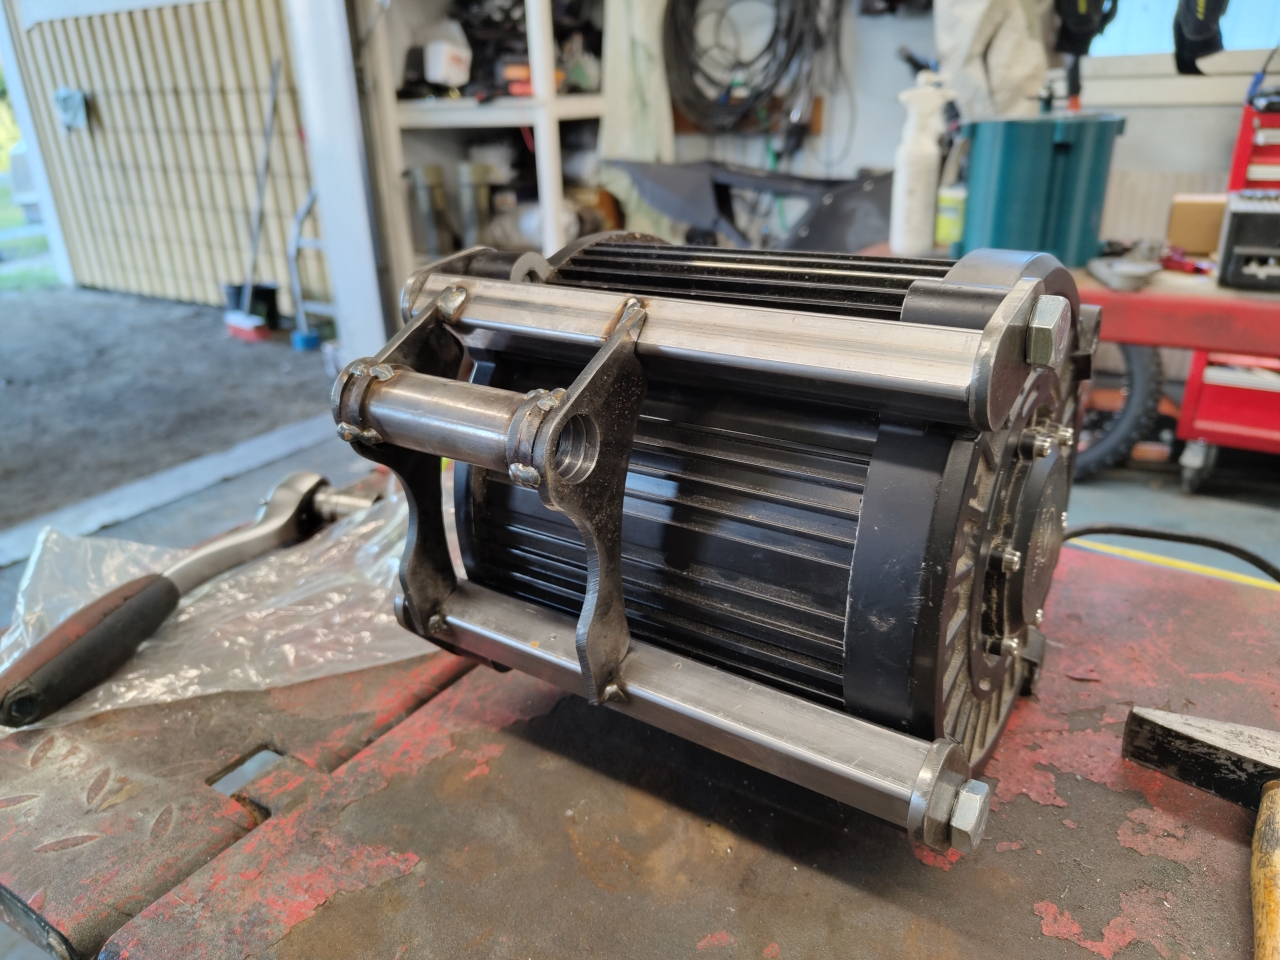
Making some wierd shaped parts to mount the motor to the frame.
.. and some regular shaped parts to weld to some other parts..
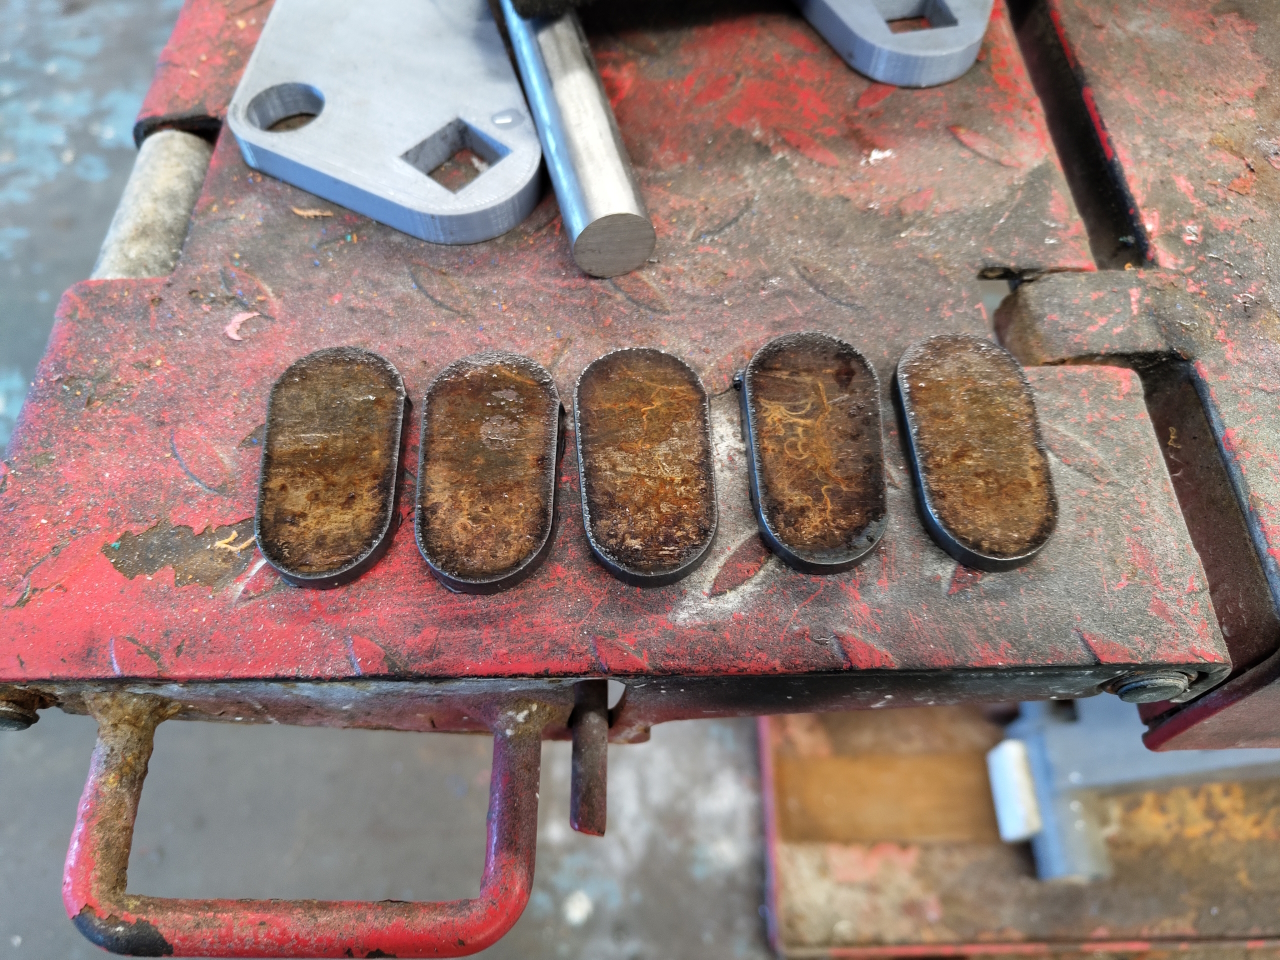
Using 20x2mm square tube I made a mount mockup like this..
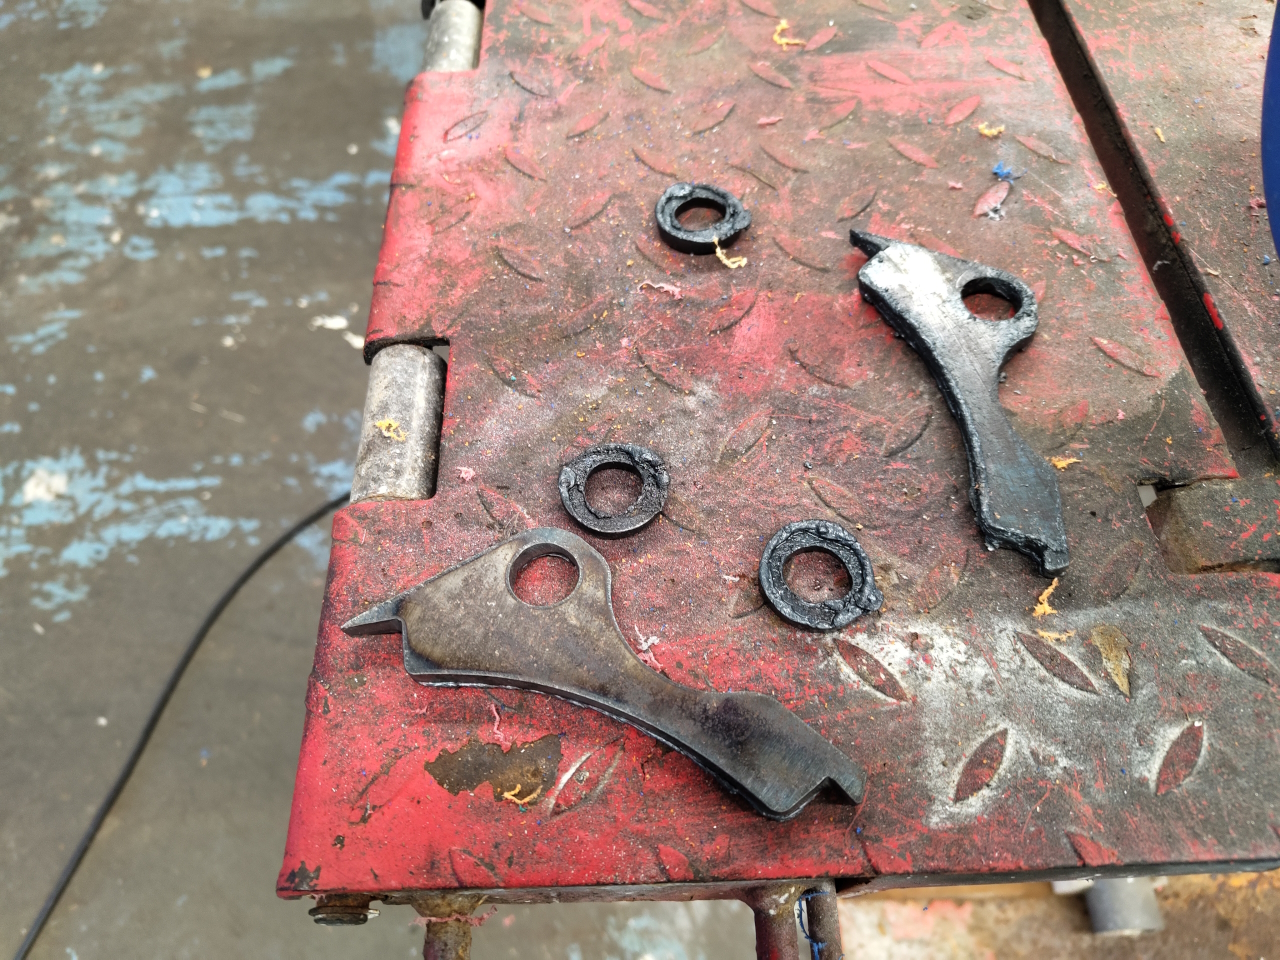
The regular shaped parts were made holy and bolted to the motor..
.. and then used to bolt the motor to the mount ..
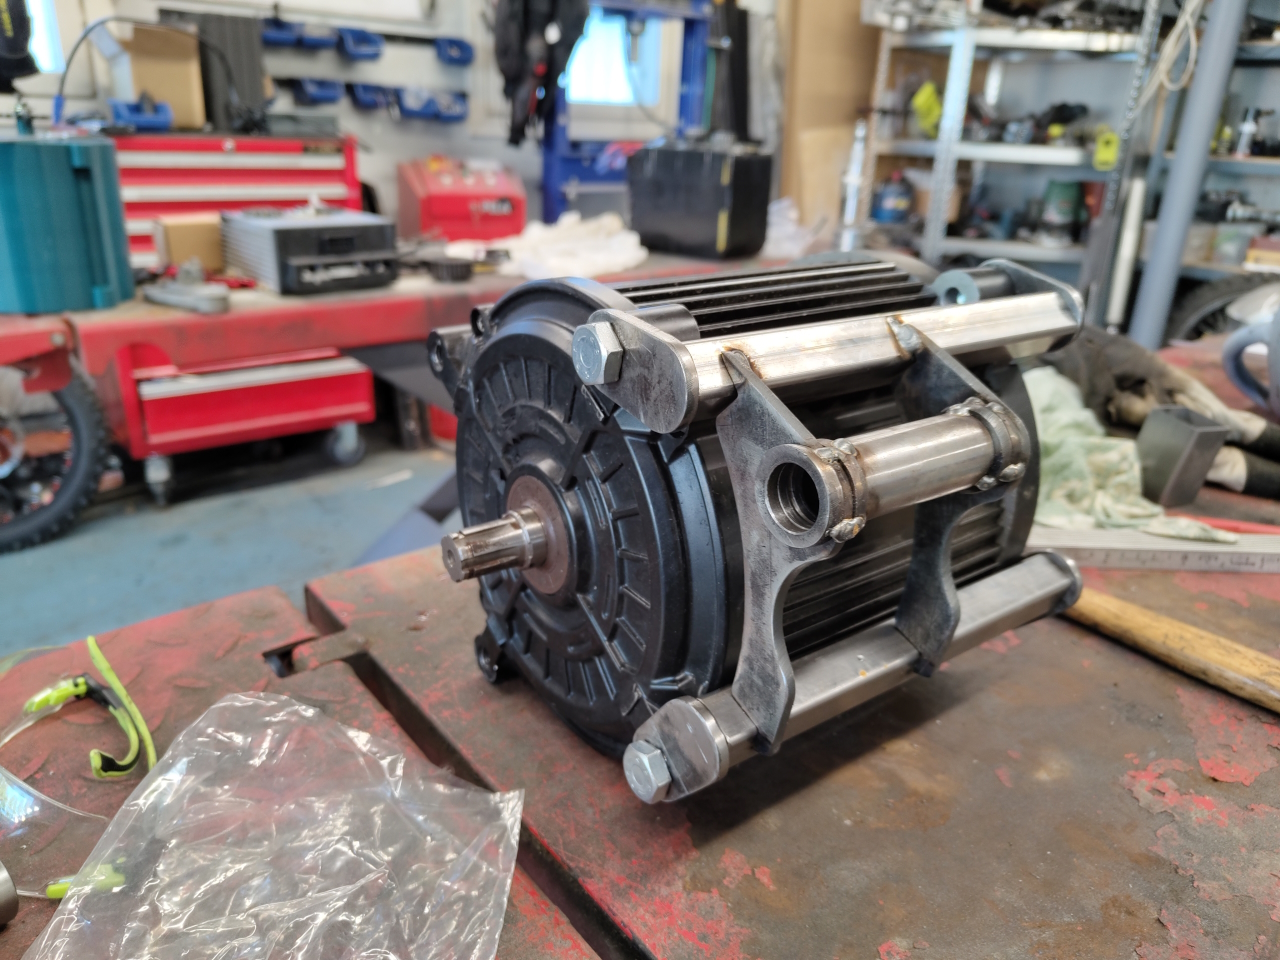
With the mount bolted to the frame I could then mount the motor to design the forward attachment points and make a corresponding bracket..
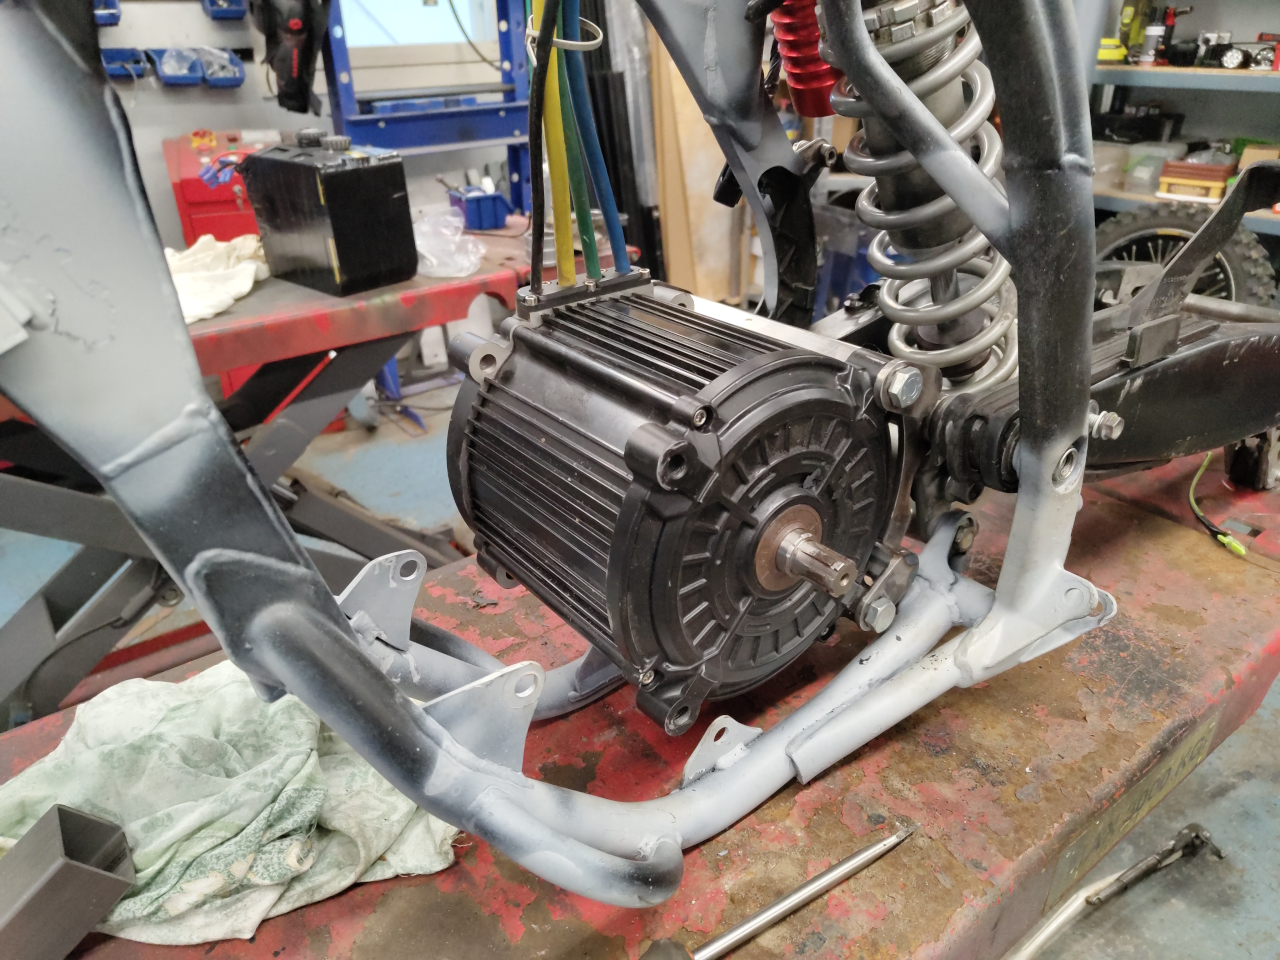
.. and this is what it looks like with the motor mounted to all the attachment points..
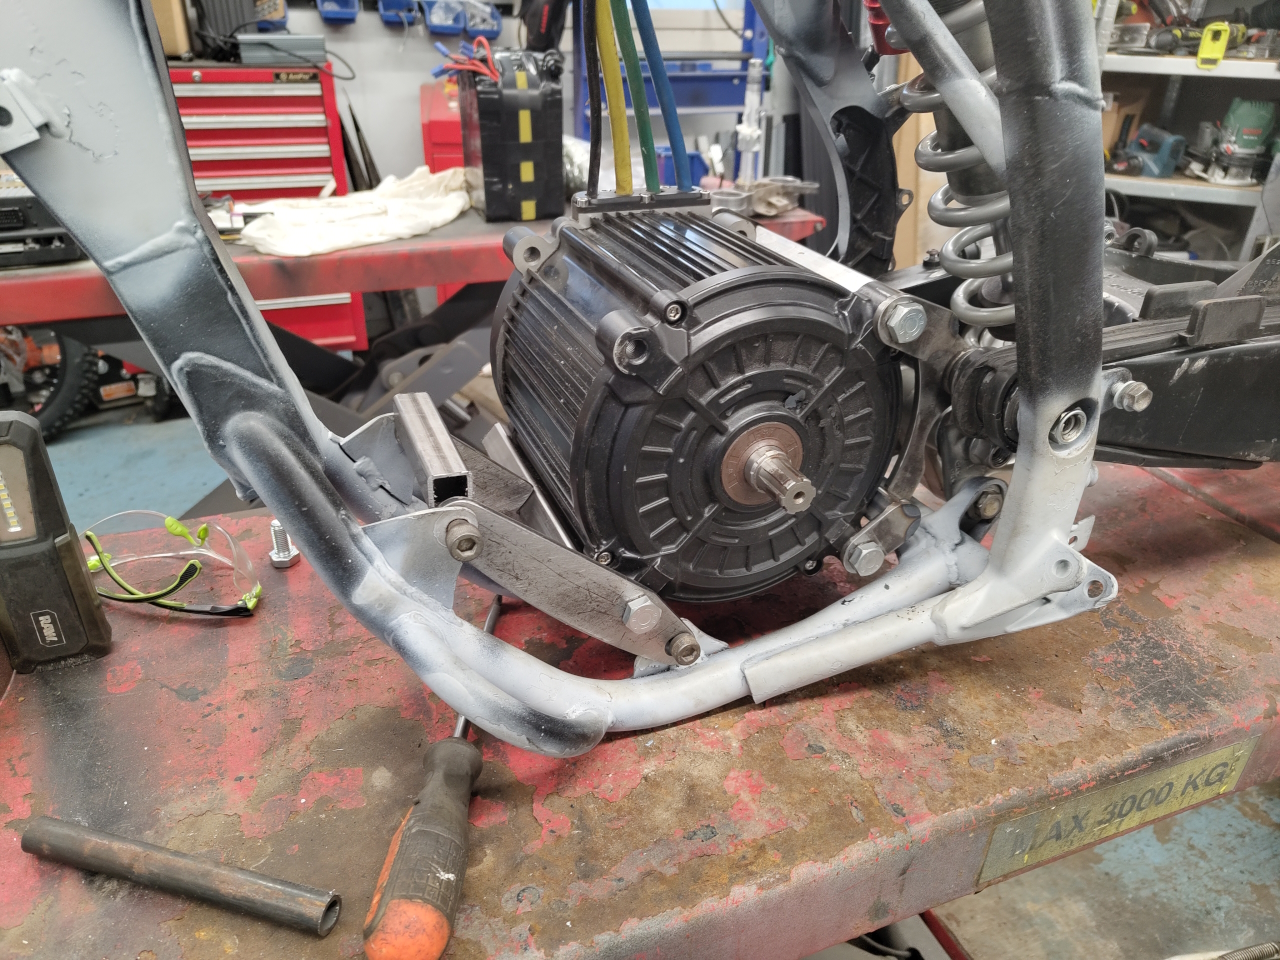
Unfortunately the motor is quite wide and the chain runs inside the frame, so in order to not have a two stage transmission with an intermediate shaft I had to position the motor quite far to the right side..
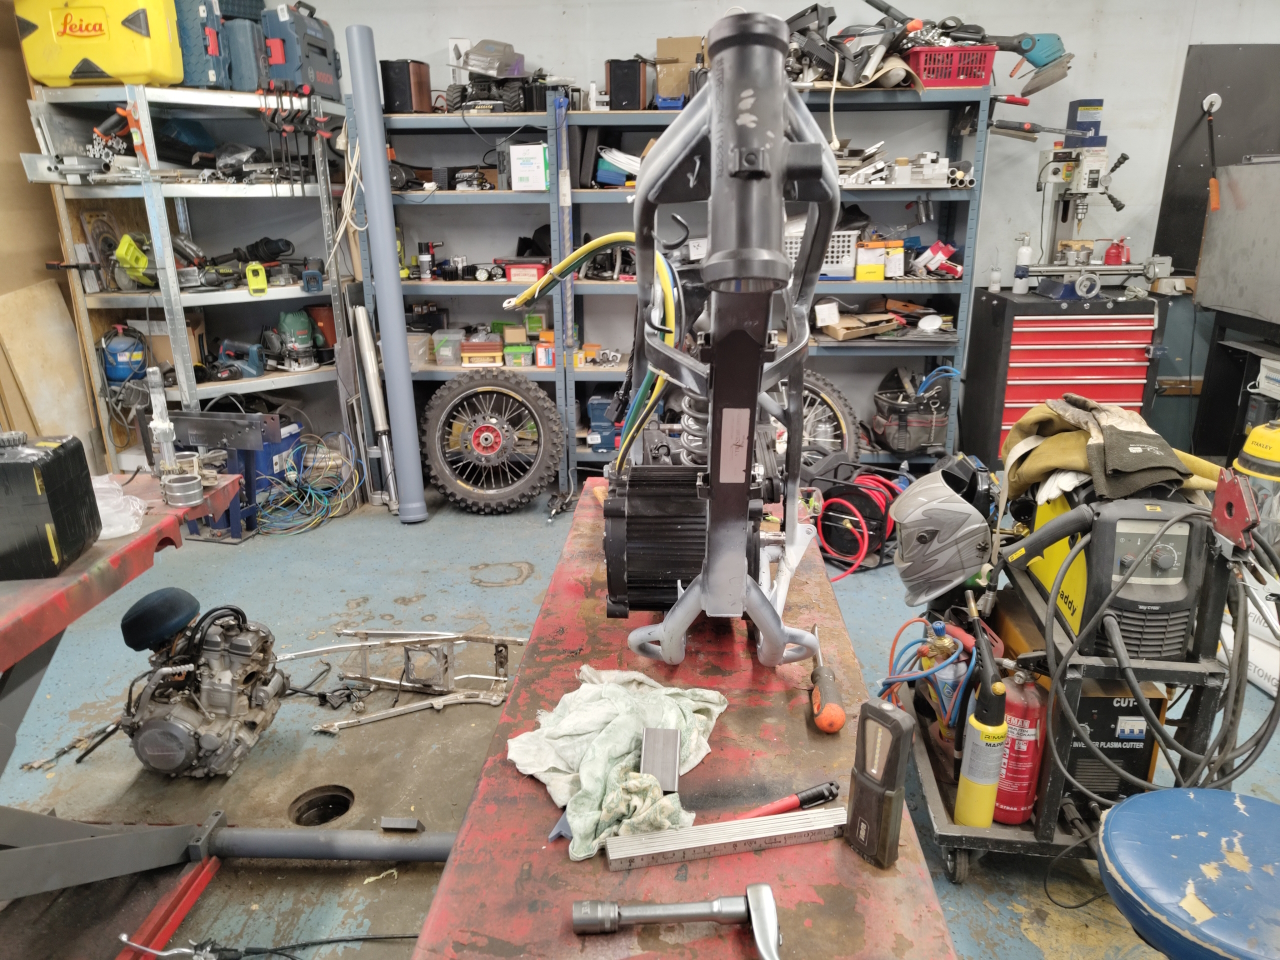
This picture is taken a little bit from the side, so it looks worse than it is.. but yes, it’s noticably heavy to the right side. We’ll see if that’s a problem when riding, if so I’ll have to remedy it somehow.
That’s all I have done so far, next step is to fit the controller in the subframe. Unfortunately the controller is quite a big and heavy piece of equipment and .. well.. it didn’t fit. I’m currently in the process of replacing the steering bearings and putting the front end together. After that I’ll mount the wheels to check what clearance I have to play with and I’ll modify the sub frame to fit the controller after that. Just have to make sure it won’t hit the rear wheel when the suspension bottoms out..
I’ve been thinking of making a youtube video of this build, but with the little time I have for the project it just adds to much work to it all. Please leave a comment if you think I should make a video anyways. I still haven’t gotten around to editing and publishing the previous build I filmed so.. 🙂
And here’s a little video for you to enjoy of my CNC plasma cutting a cover for our chimney.
To be continued..