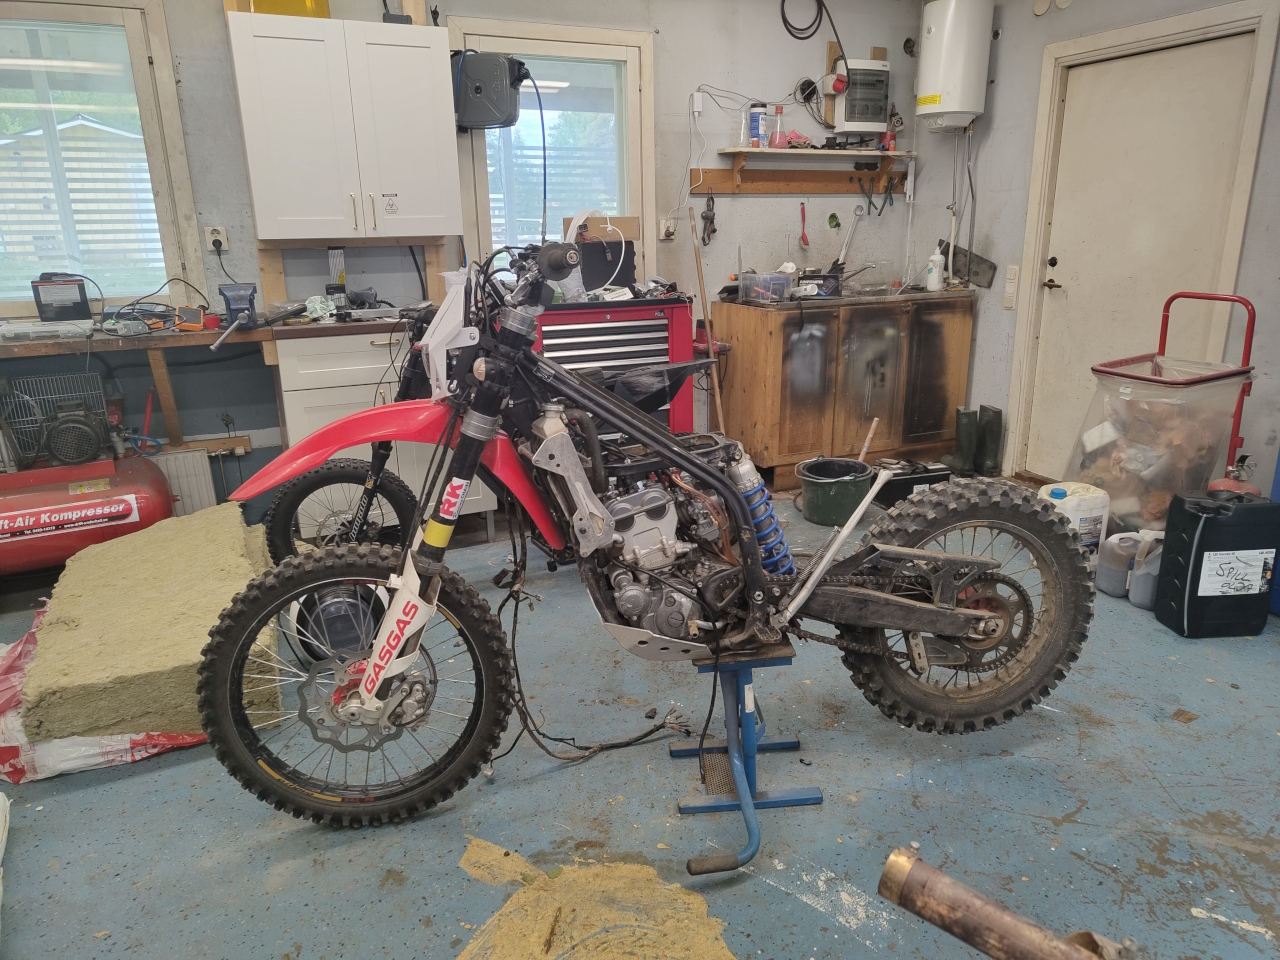
Now that the motor for the NoGas project has been liberated from the previous conversion the fun is about to begin. But before I can start constructing and building I’ll have to remove everything gas-related from the bike..
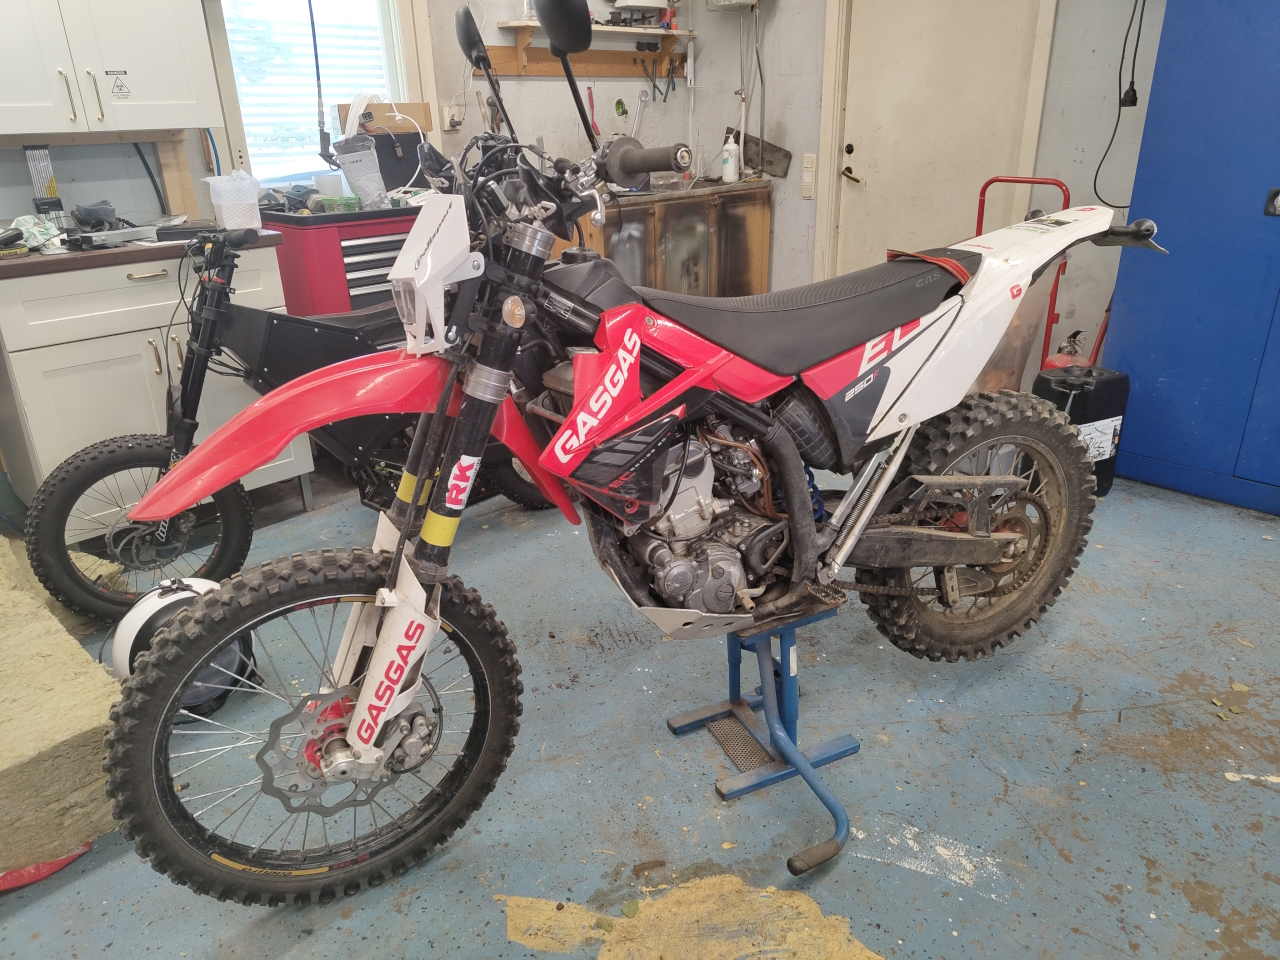
Since I’ve never owned a GasGas before it took a bit of fiddling to get everything off the bike. First to go was the seat and tank..
Then goes the plastic parts..

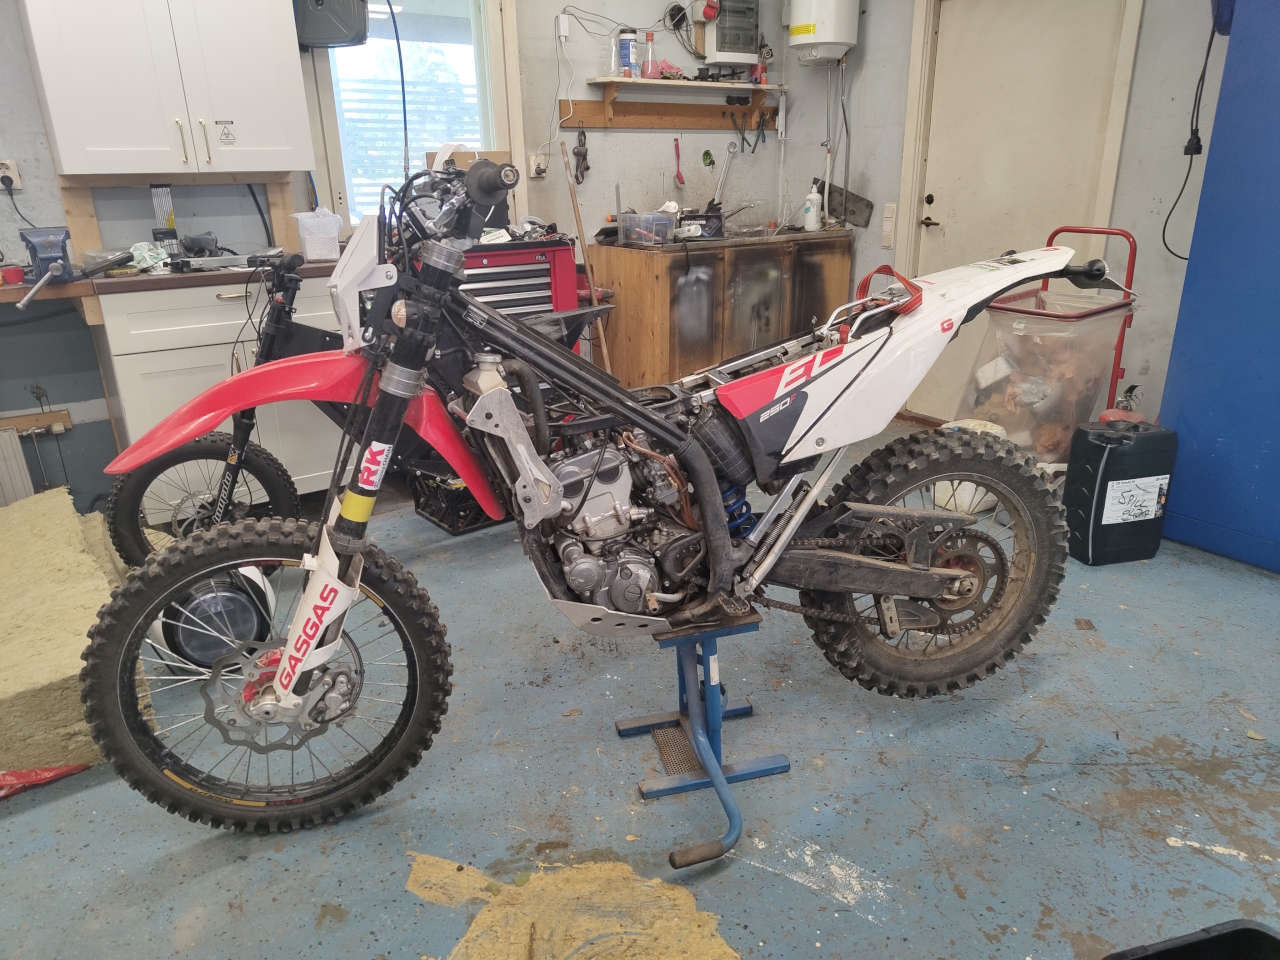
.. to get further the subframe is next on the removal list ..
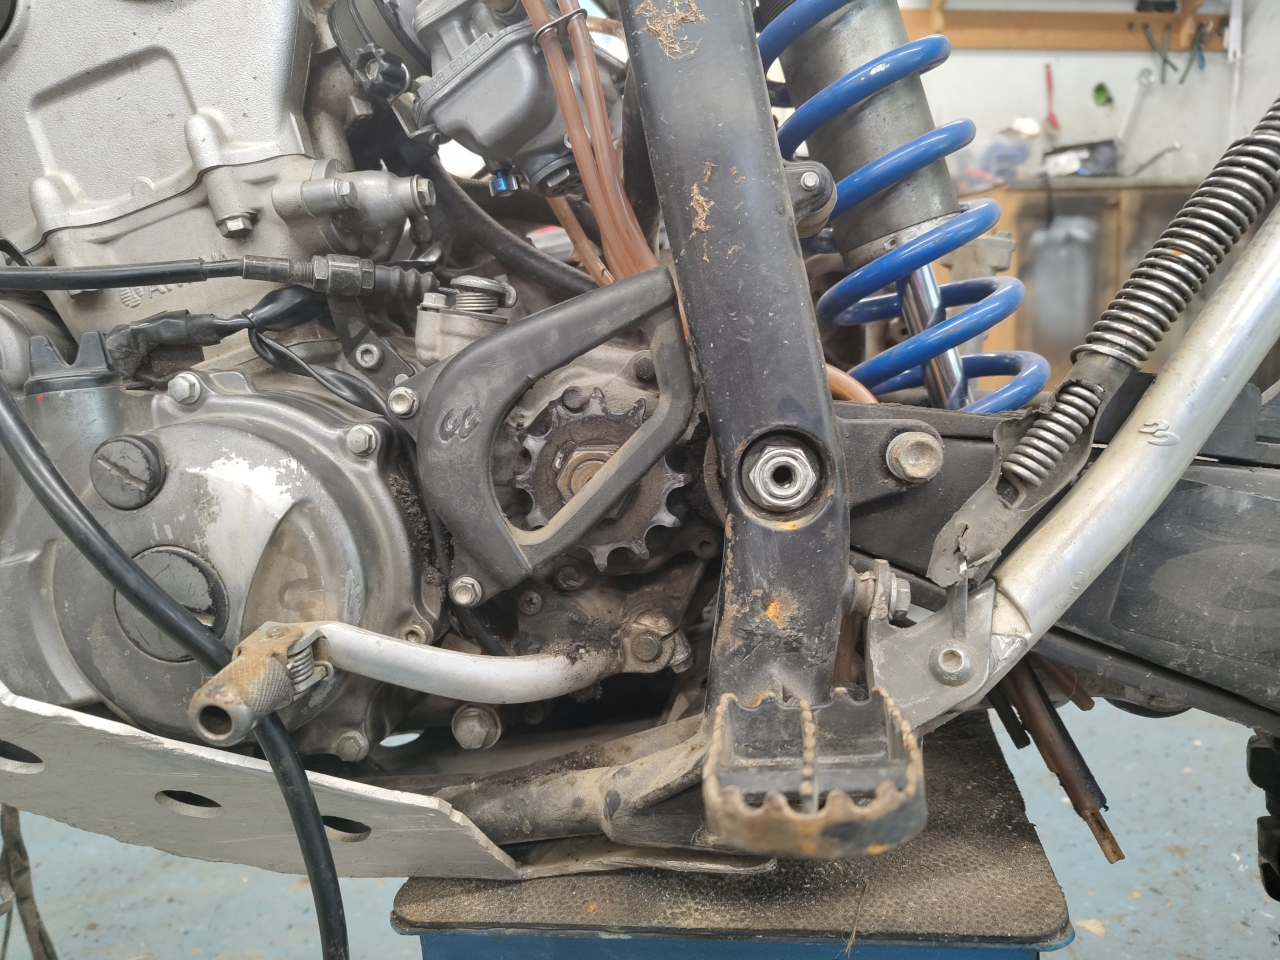
To make the electric motor mount as similar to the original sprocket position I took a picture to try to reference the placement when that’s up. Since the shaft on the electric motor is in the center of the motor I won’t get the sprocket as close to the swing arm without using a transfer shaft, which I don’t want to do.. so..
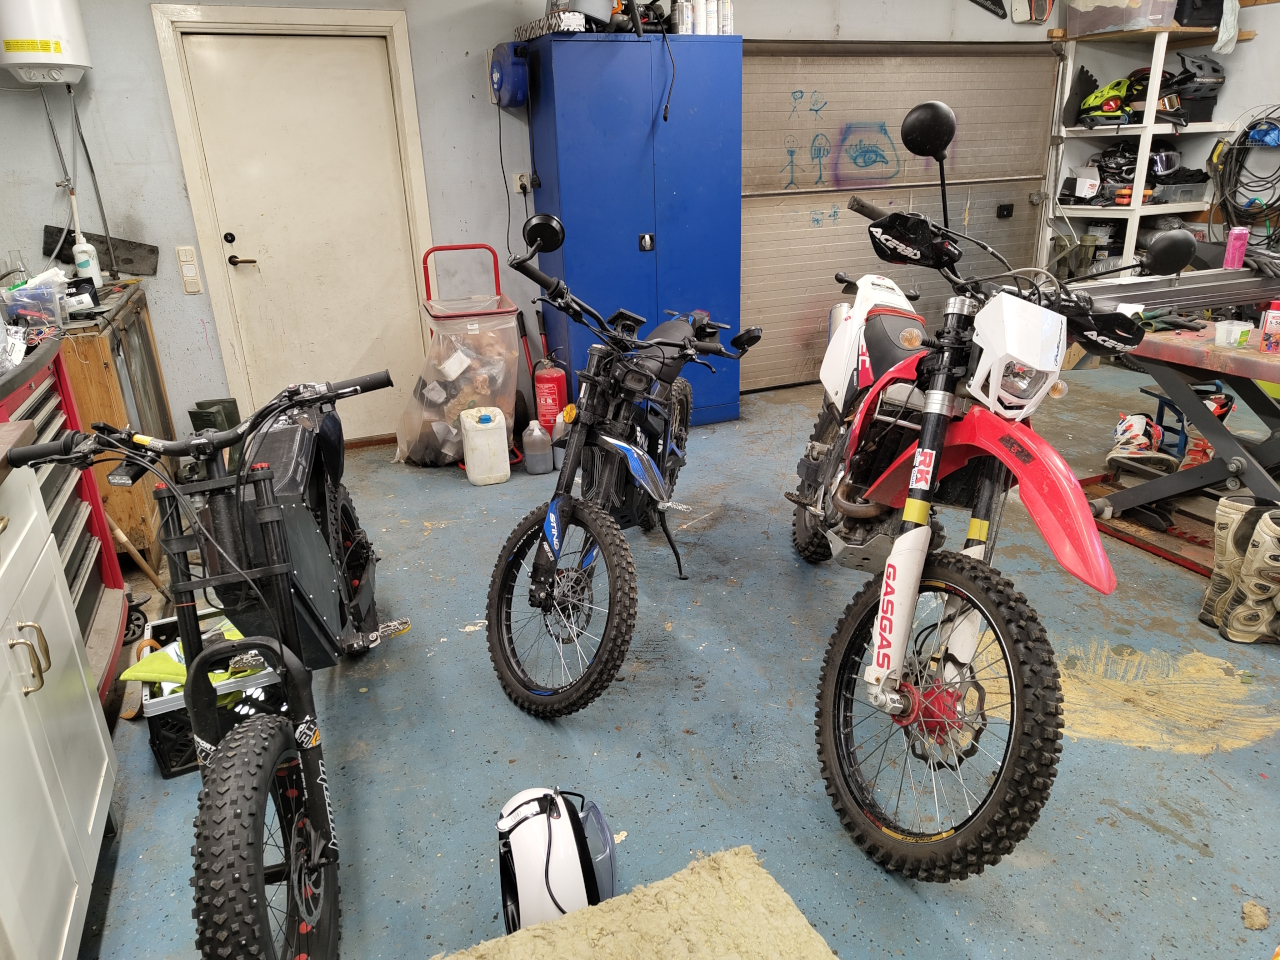
There’s quite a lot of stuff on a bike like this..
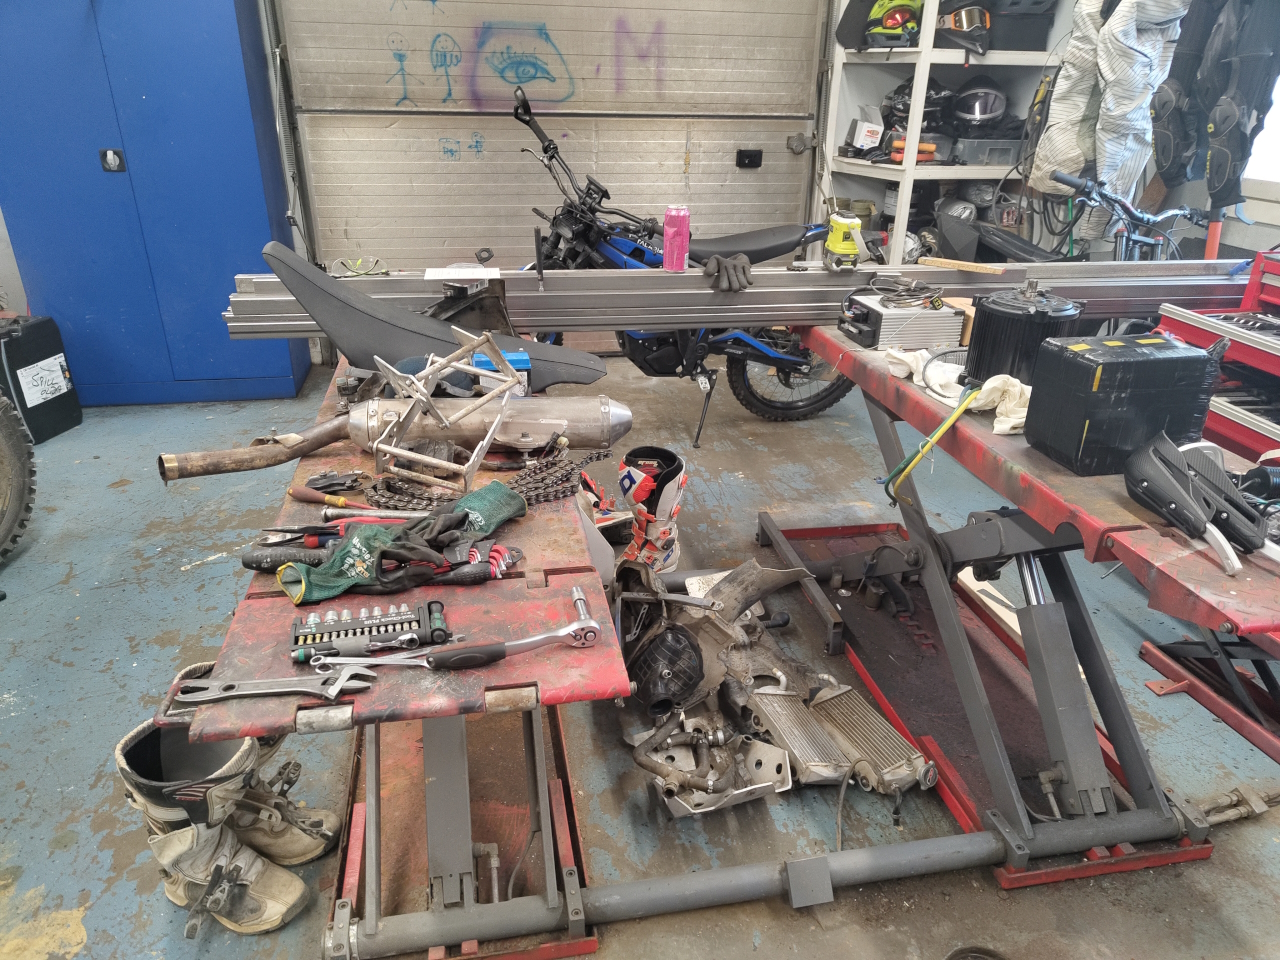
.. and I’m just getting started!
To get to the engine I removed the rear swing and shock absorber..
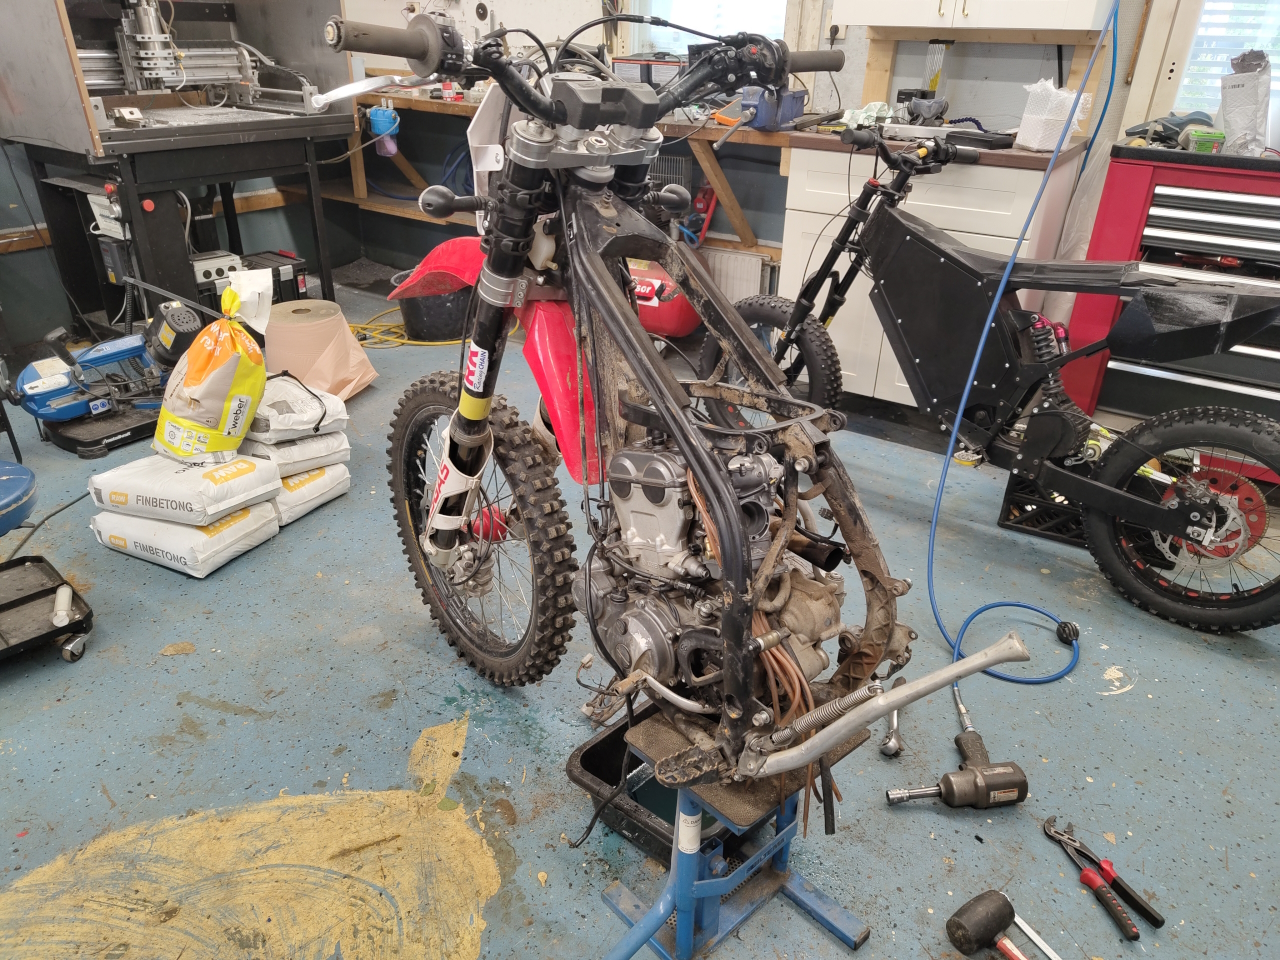
.. and once that was done there were only two more bolts holding the engine in place..
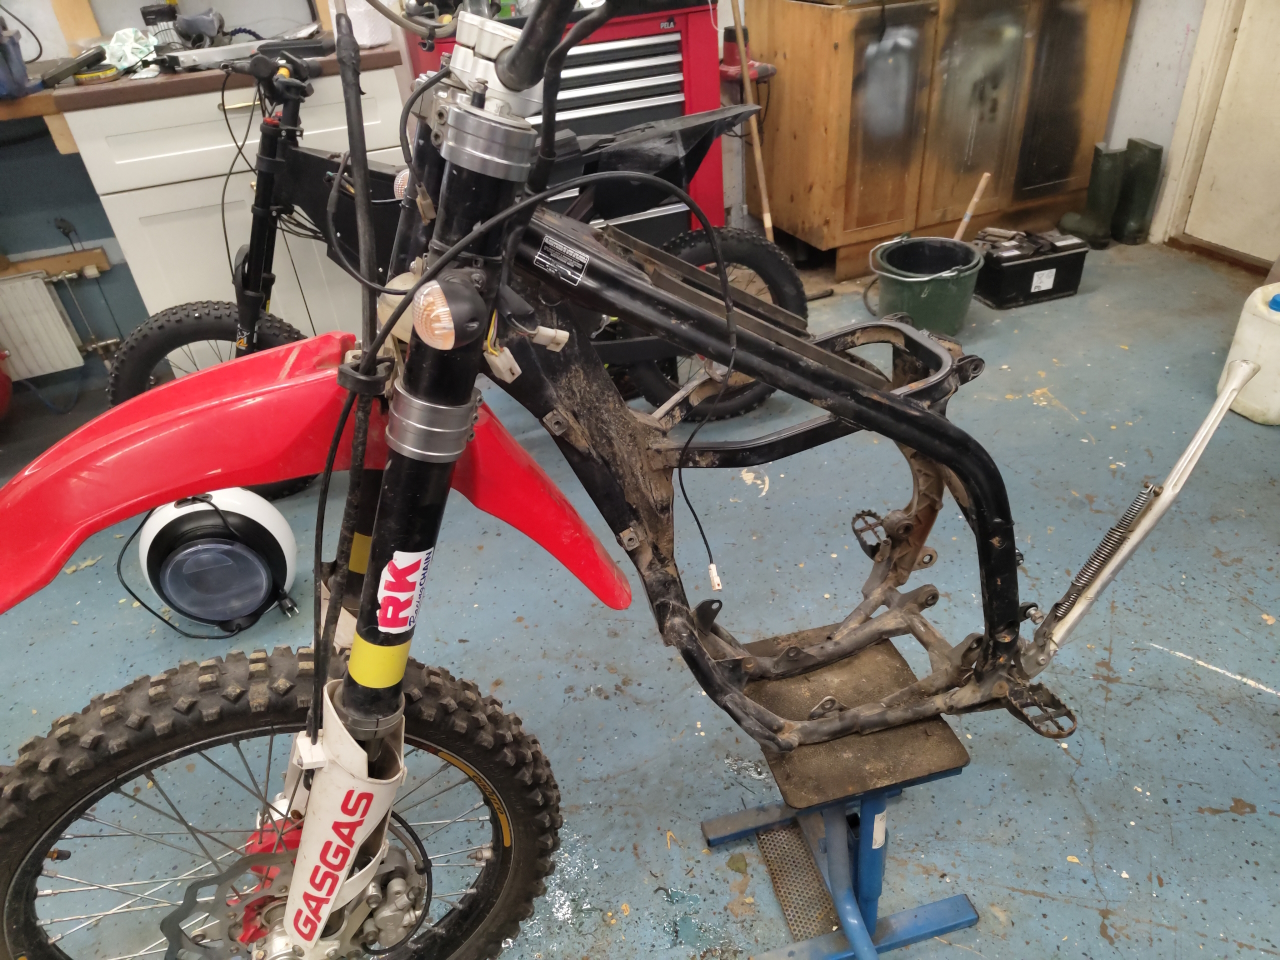
I could’ve stopped here and started making a mount for the QS motor but since the paint on the frame was in quite a bad state and the steering bearings didn’t feel too good I decided to do a proper restoration of the bike while I’m converting it.. so, off with the rest of the stuff..
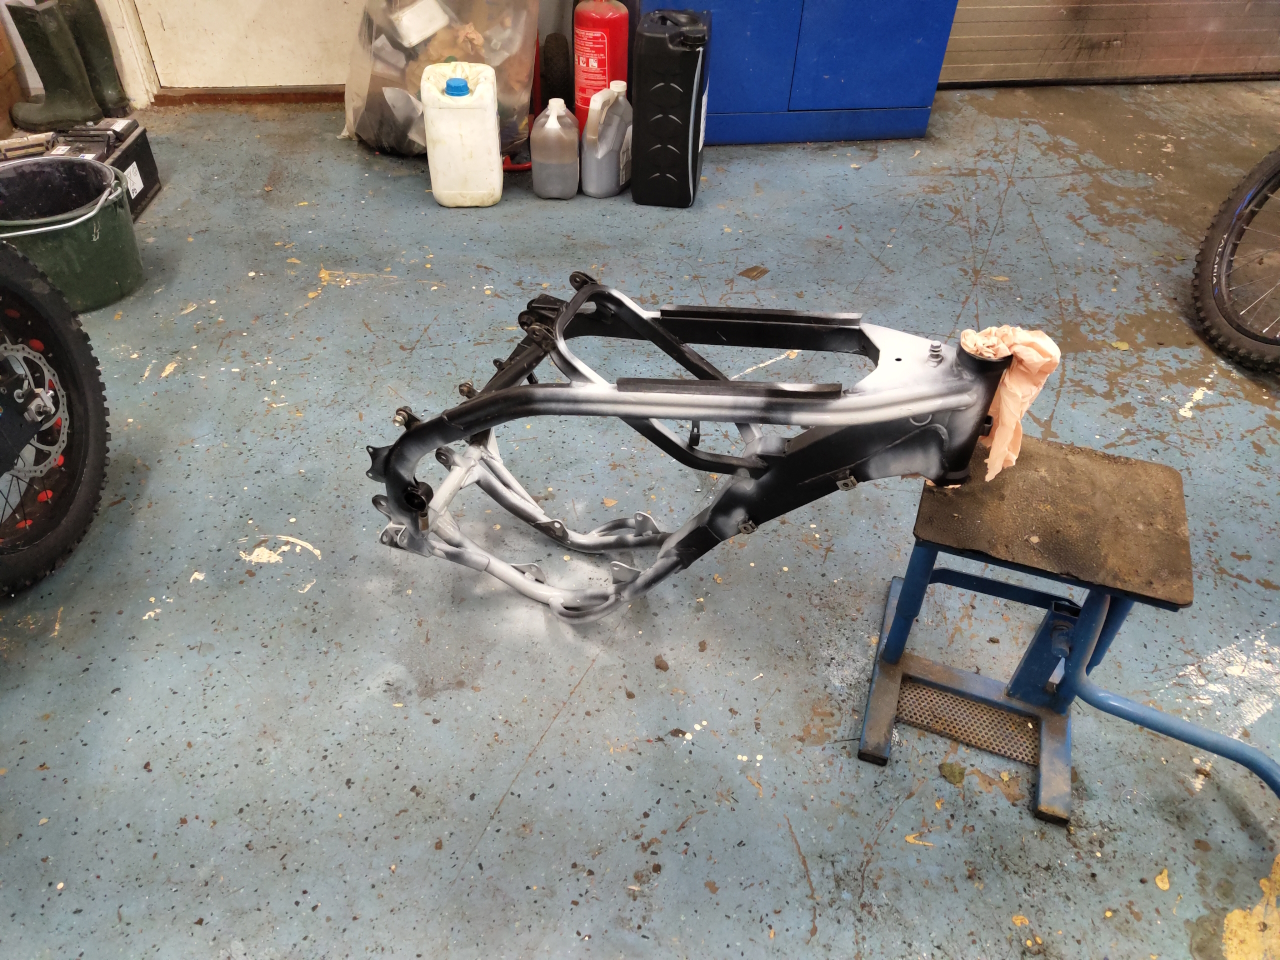
Now that the frame is naked I sand blasted all the rusty areas and removed all the loose paint. Here I’ve just primed it for paint and this is the state it’ll be in until I’ve got all the welding and modifying done. Then I’ll do a proper paintjob to get it all protected from rust and whatnot..
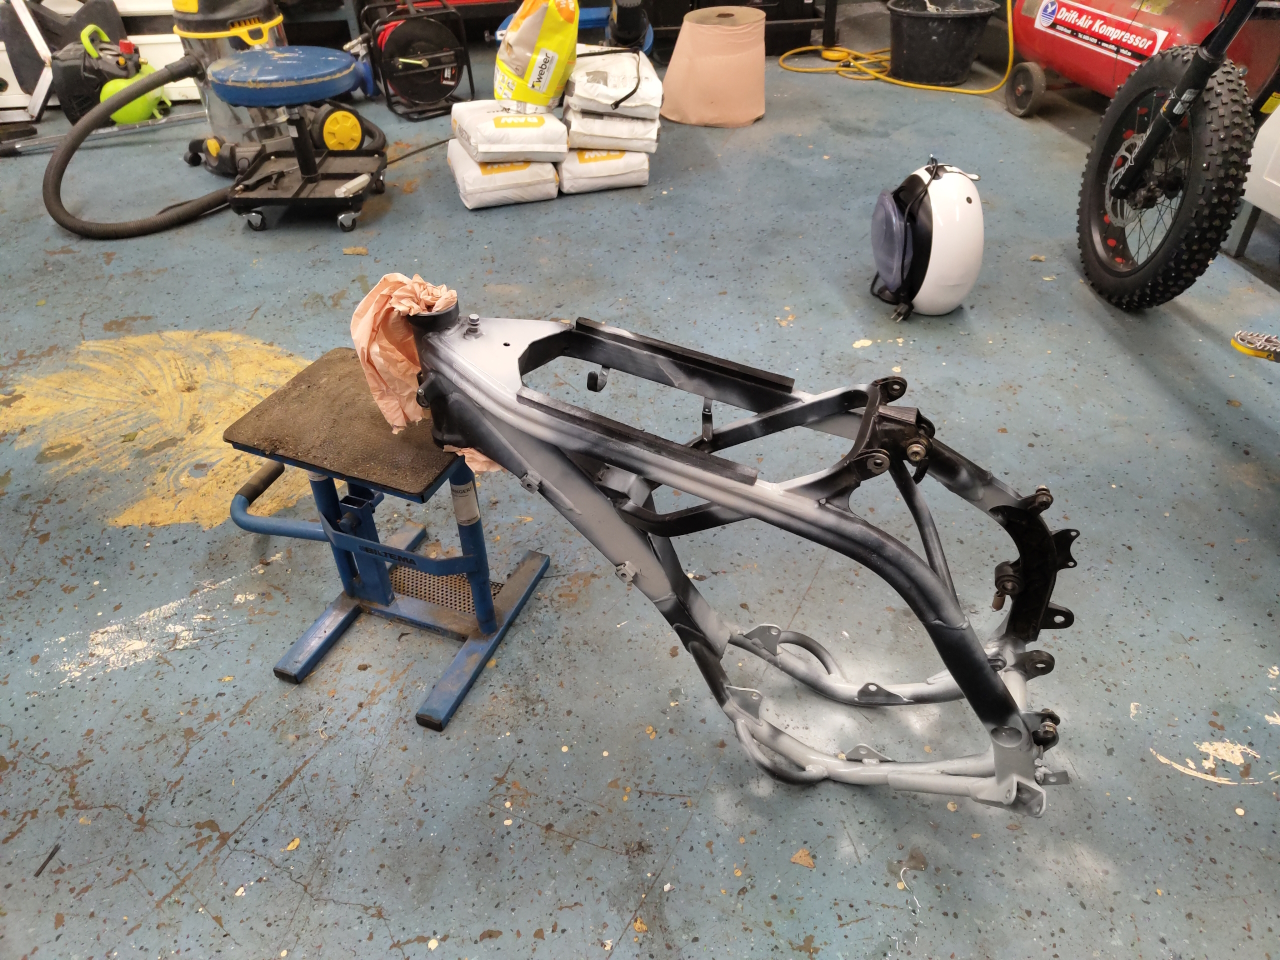
Since a lot of the stuff I removed was in a pretty bad condition I’m getting a lot of new stuff to go on the bike, like footpegs, levers, bearings and stuff like that. More on that when I get to it. The next step is making a mockup motor since the QS is just too heavy to play around with. Then the manufacturing of mounts will begin. I’m going to try to modify the frame as little as possible but I’m counting on having to make some welding and modifying of the frame to fit the QS.
There’s quite a lot of cleaning still to do, teadious boring work that I won’t write about so next post will be making electrical stuff fit.
To be continued..