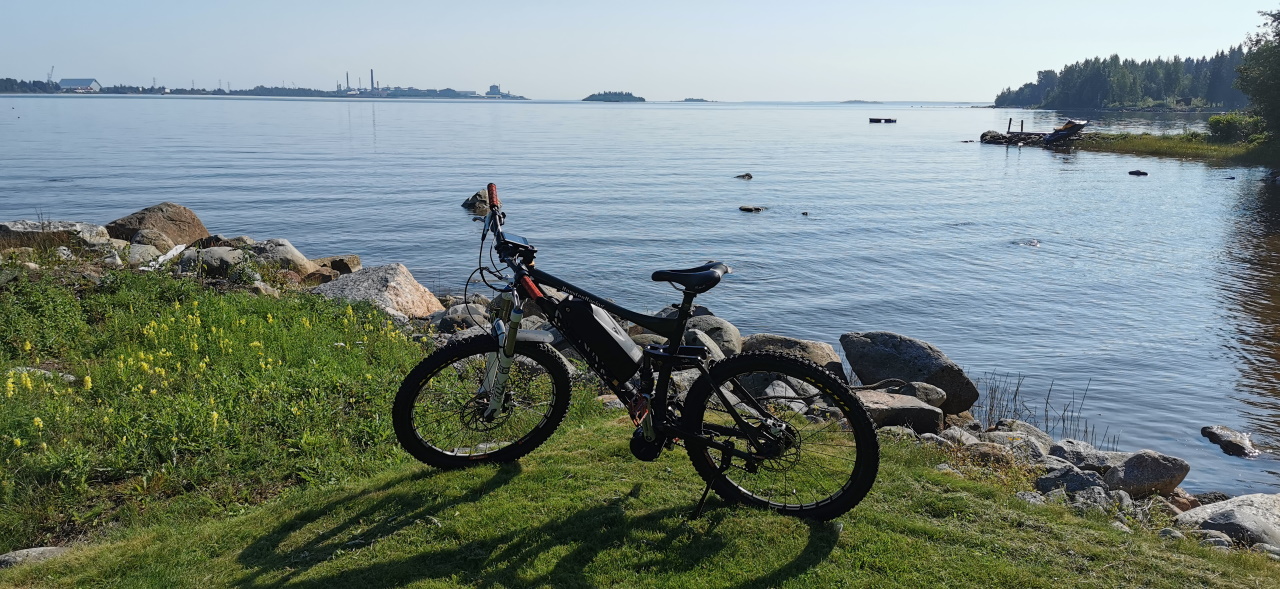
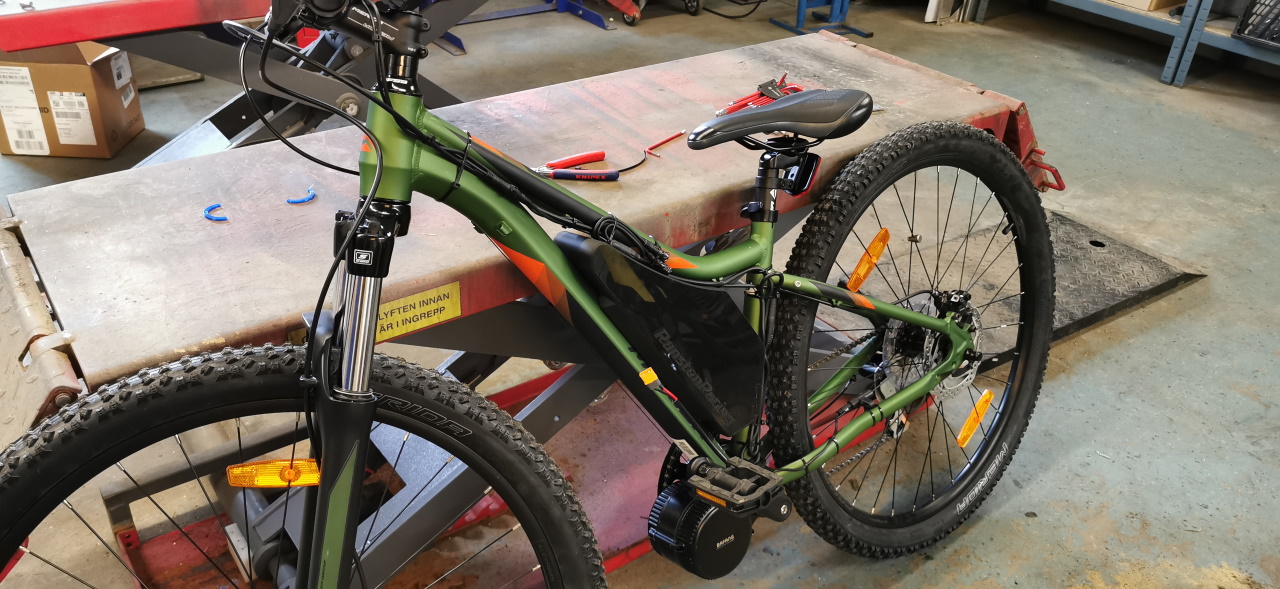
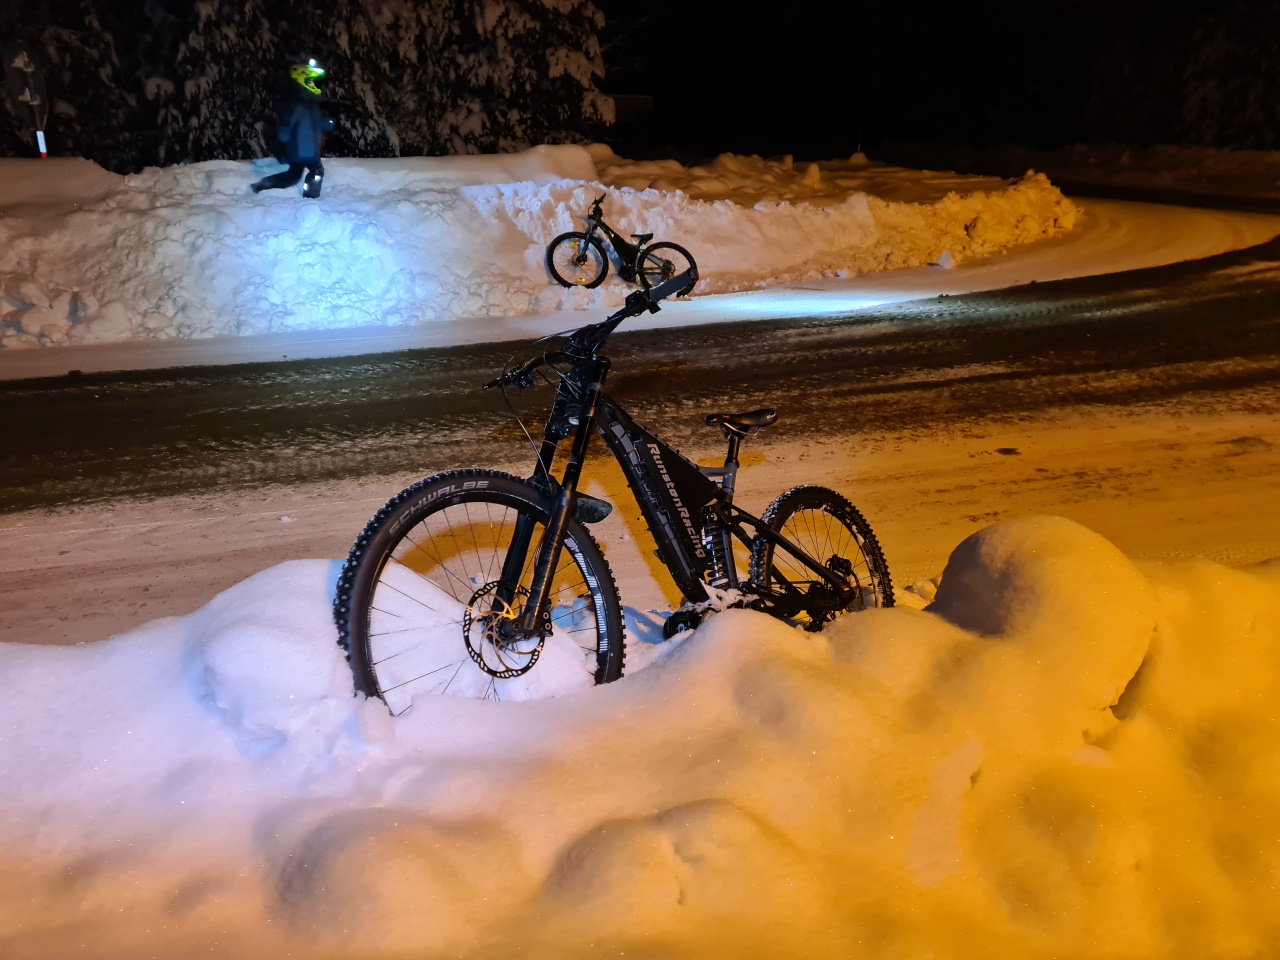
So, of course when I ride an awesome ebike the kids want one too. First of all I had to build one for my wife but that’s just a standard bike with a hailong pack. This is what I was riding at the moment:
Generation 1, 2020
But since my son was a wee bit short (10 years old) the bike we got for him could not fit any standard battery, so this was actually the very first totally custom battery I built.
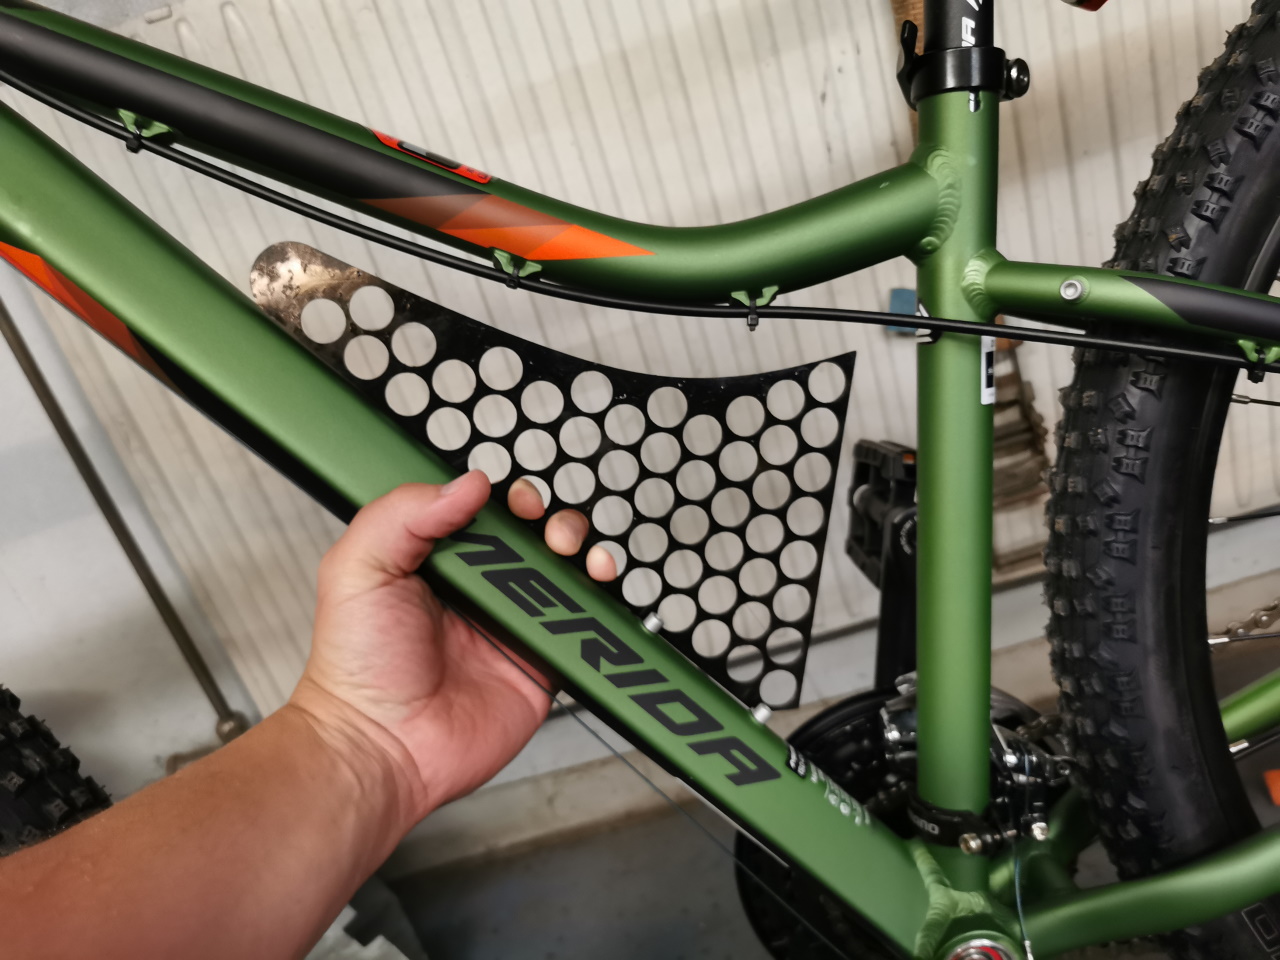
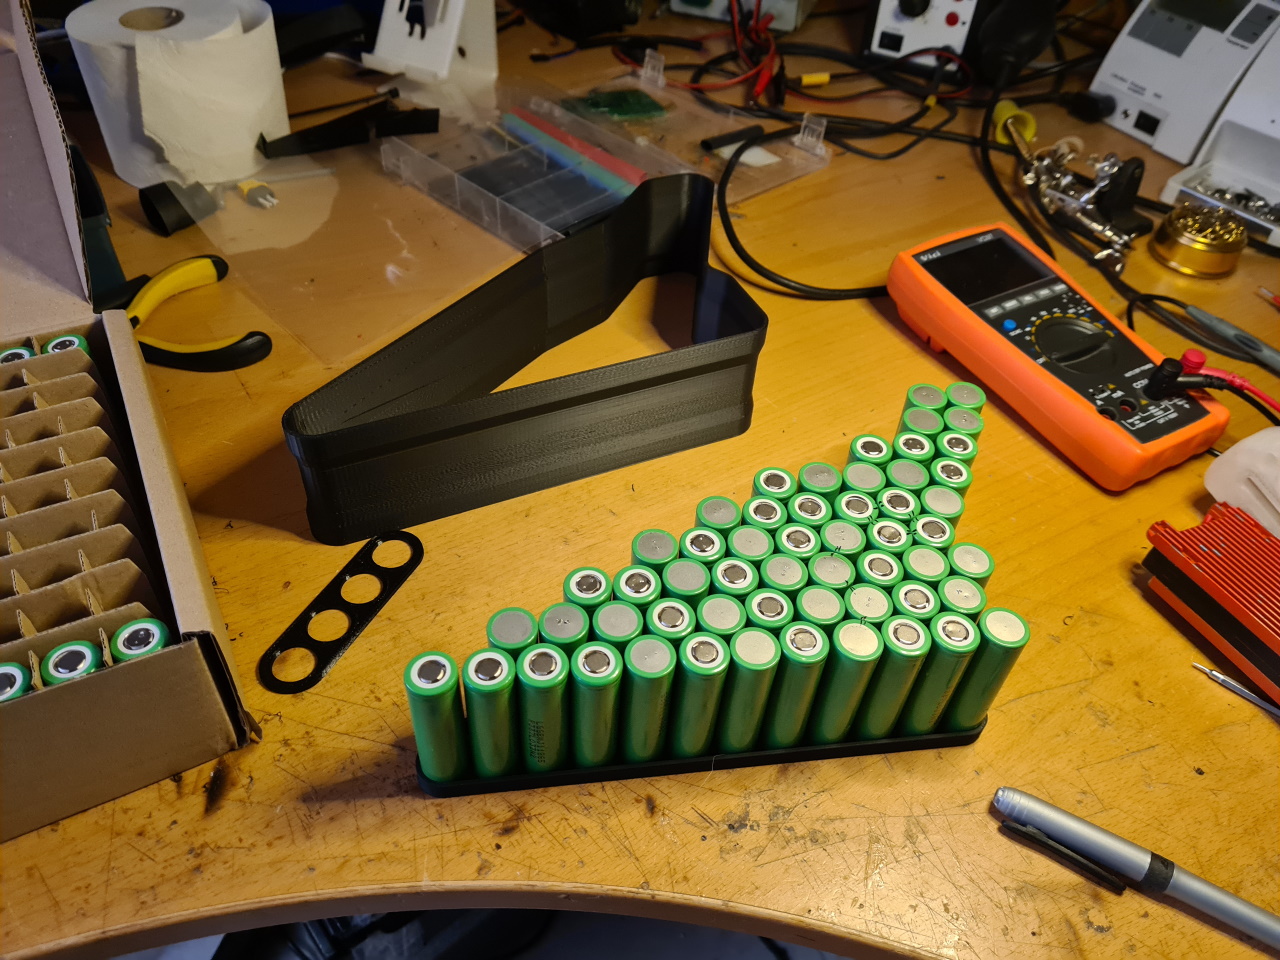
Started out by making a dummy frame just to see how many cells we could fit in his frame and to get an idea of the shape of it:
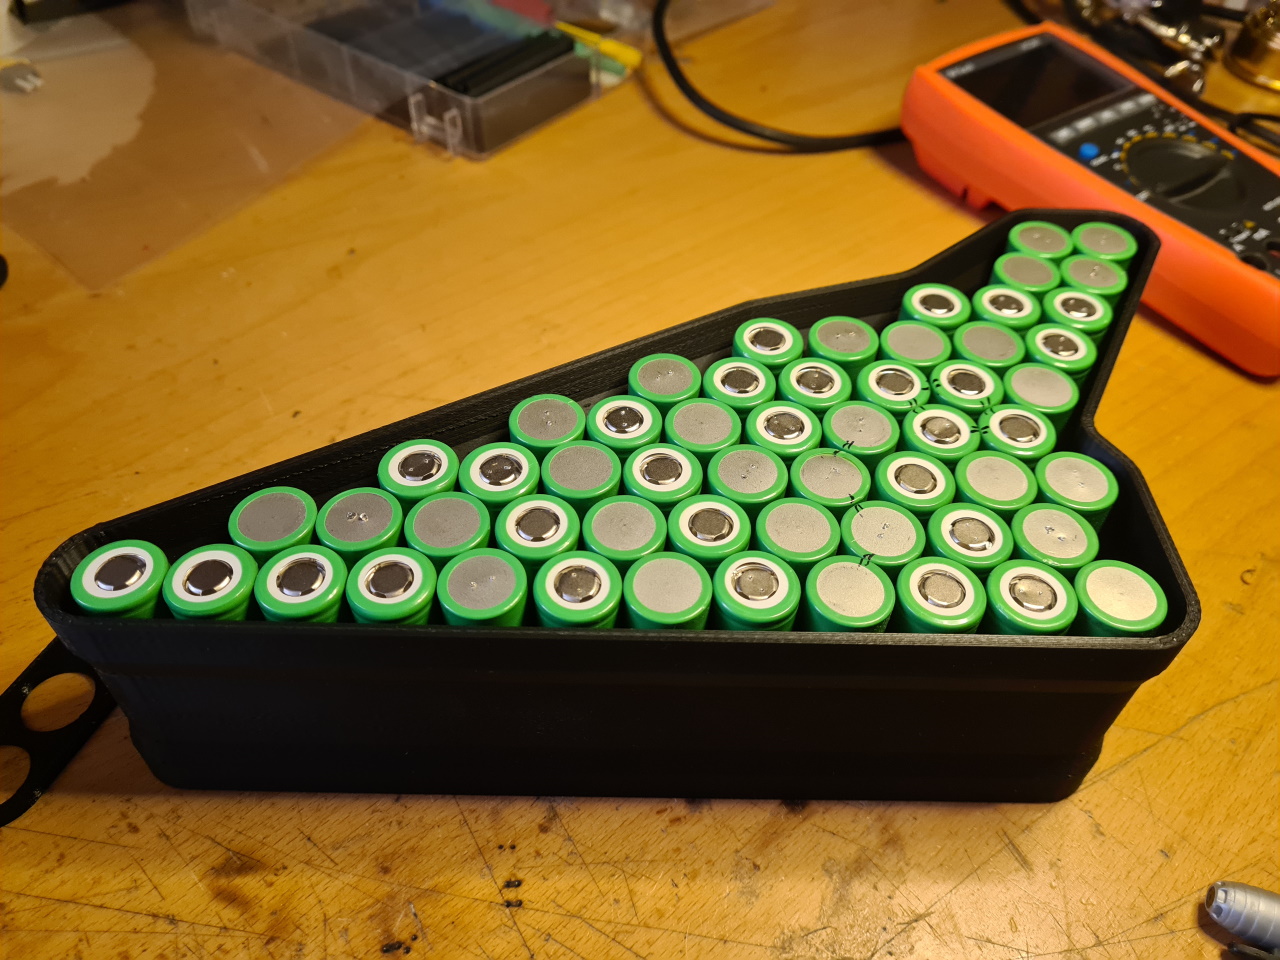
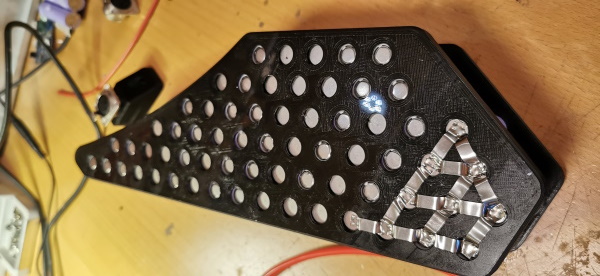
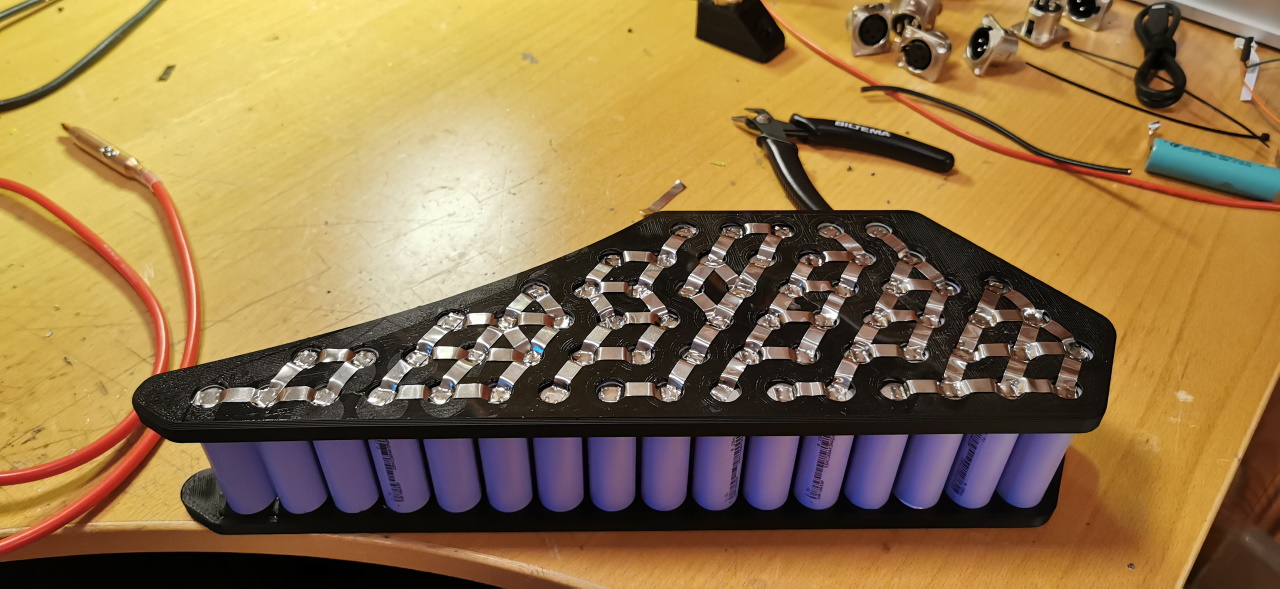
Made cell frames and fit K-power 2500mAh 12,5A cells in there.
Installed the second frame and welded it all together.
As you can see this is a 13s5p pack yielding a whopping 48V with 12,5Ah and a total power output of 62,5A. This is by far enough for a small 10yo child. Only once did he ever run out of juice with this battery and that was after a 40km+ ride starting out with a half full pack.
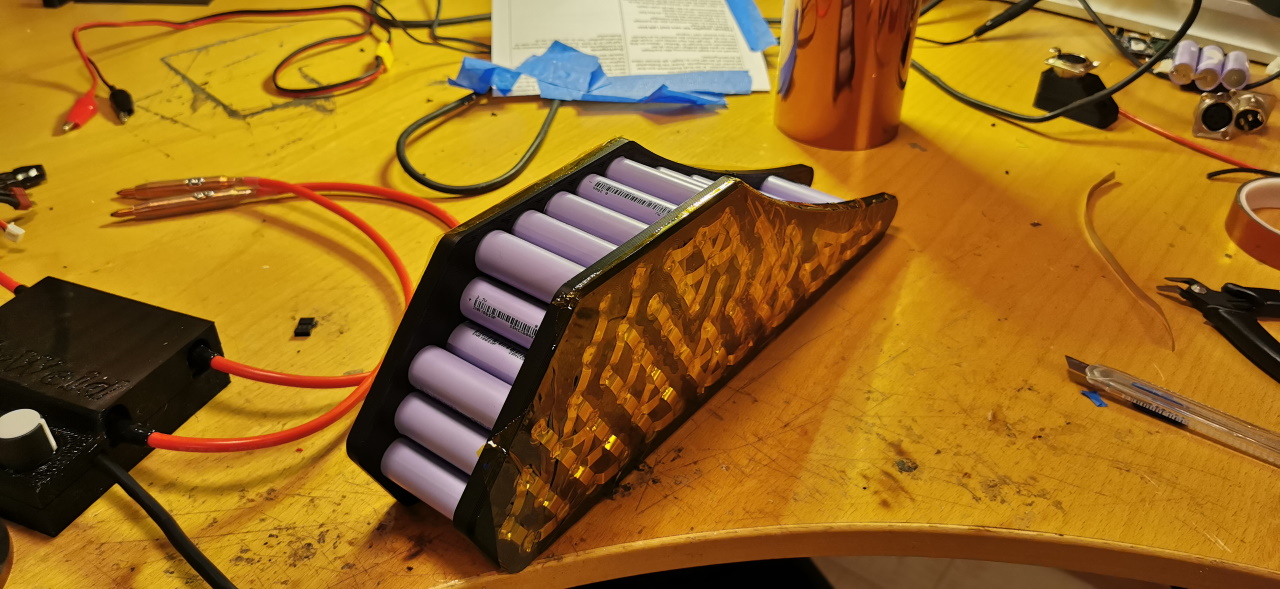
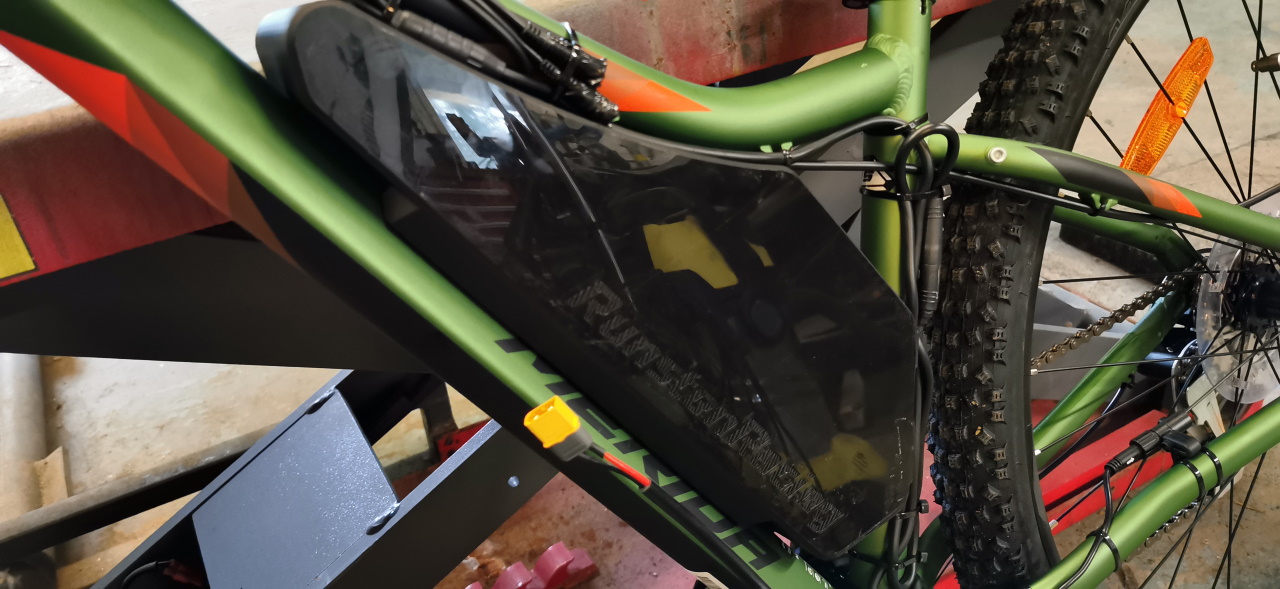
Kapton tape to insulate the pack and then it was just a matter of mounting the BMS and putting it all on the bike.
Printed the case on glass, that’s why the sides of the box is so reflective. That didn’t last for long with the abuse the kid put this bike through though. 😉
Generation 2, 2021
Skip forward one year. A couple of crashes later he has grown quite a bit taller and now enjoys following me on the harder offroad and downhill trails. Never complaining I can see how he suffers from the stiff rear end of the green Merida bike and having bent both the rear rim and the front fork quite badly I thought it was time for an upgrade.
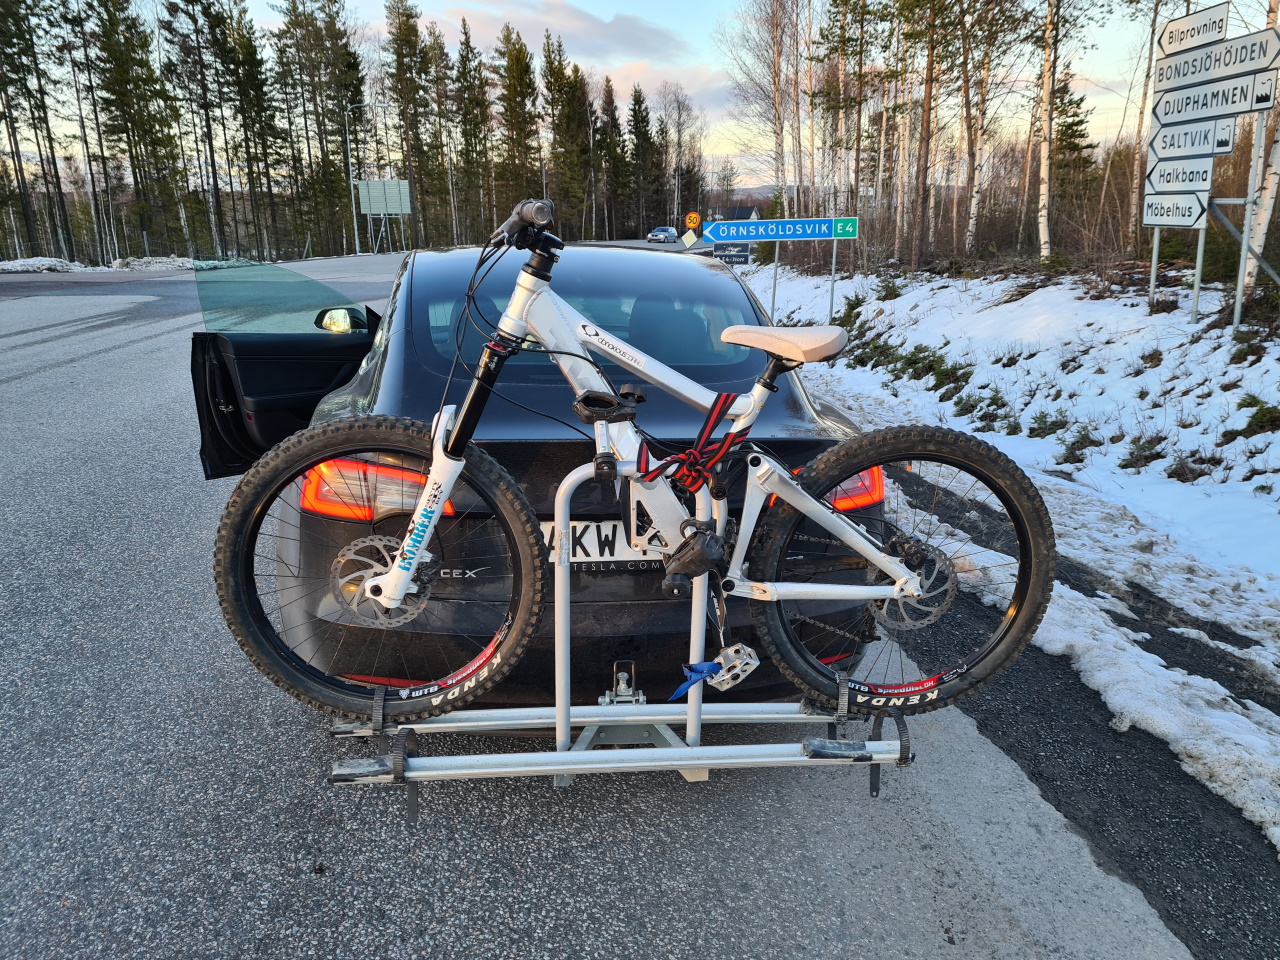
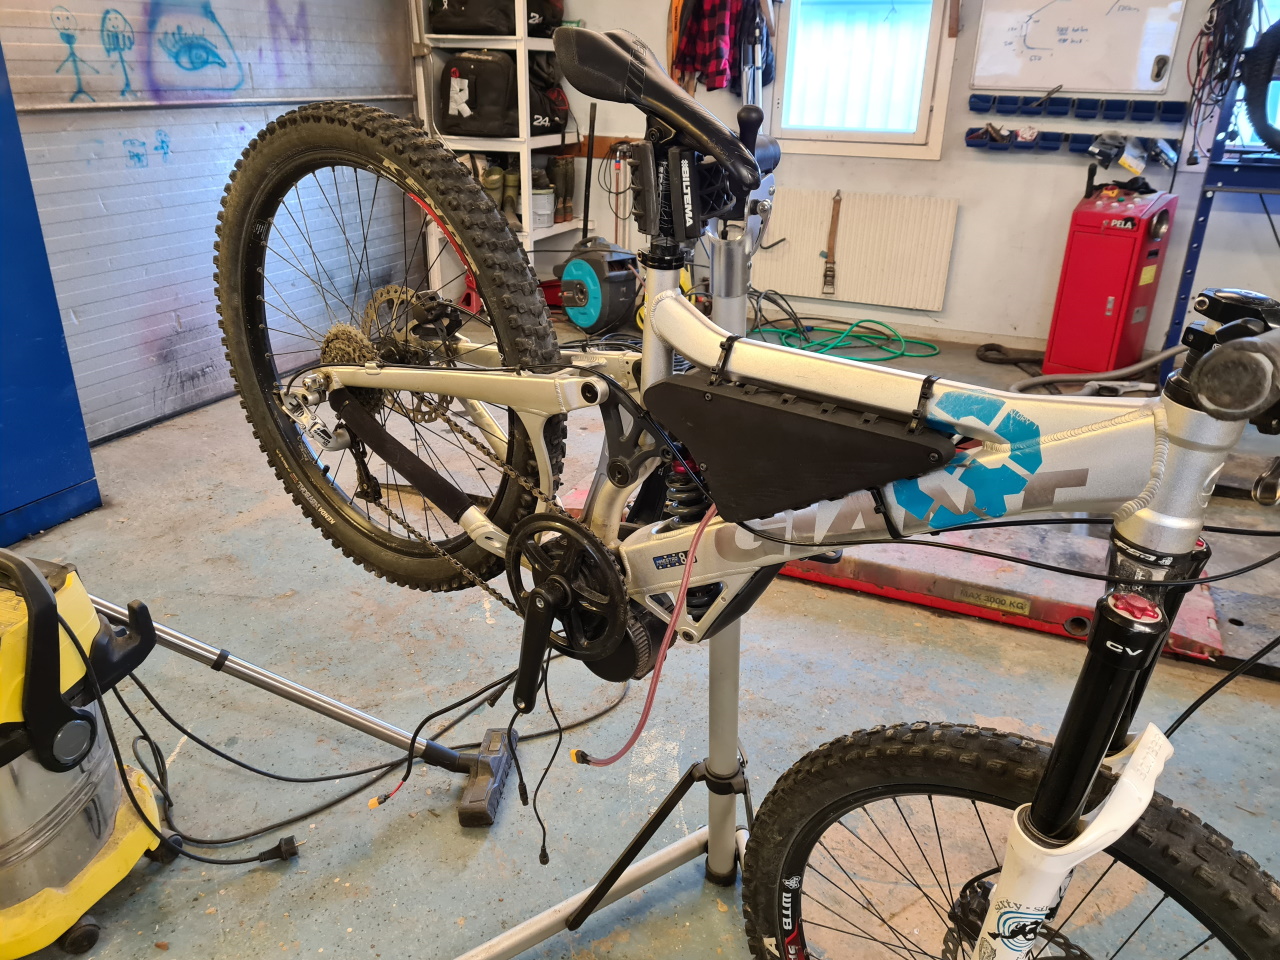
I found a used Giant Glory 8 in small size for cheap, just some 350km away, so I made a roadtrip and picked it up. This frame looked like a perfect fit for an electrical conversion!
After some careful measuring (and a lot of not so careful grinding on the frame to fit the BBS02 motor) the normal process started.
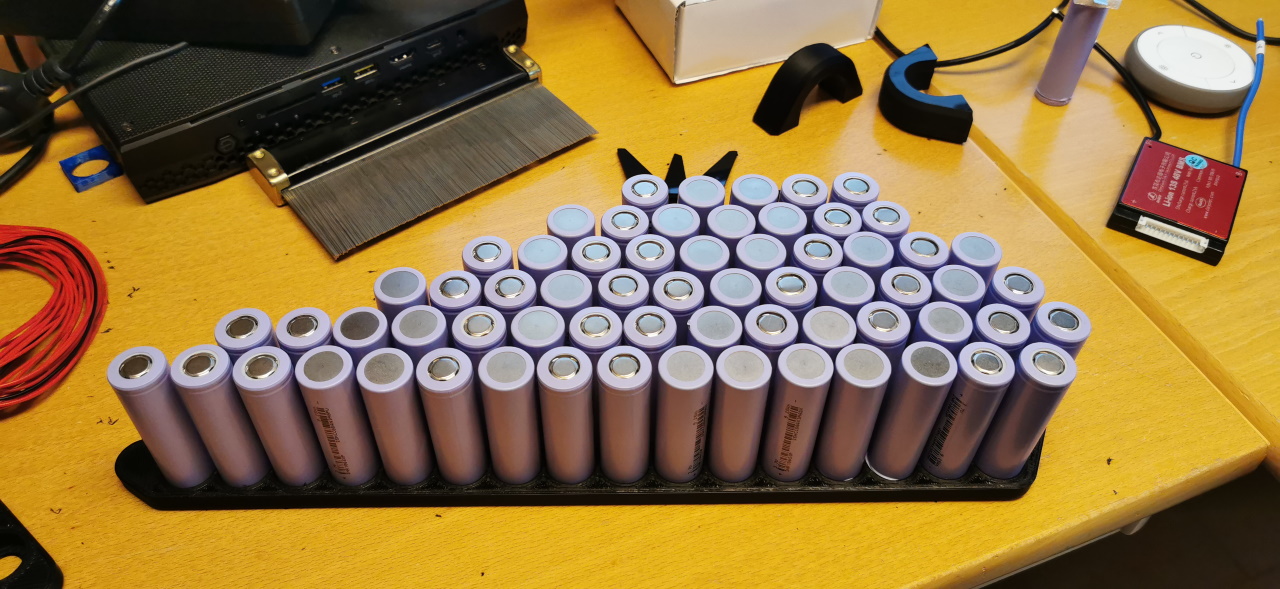
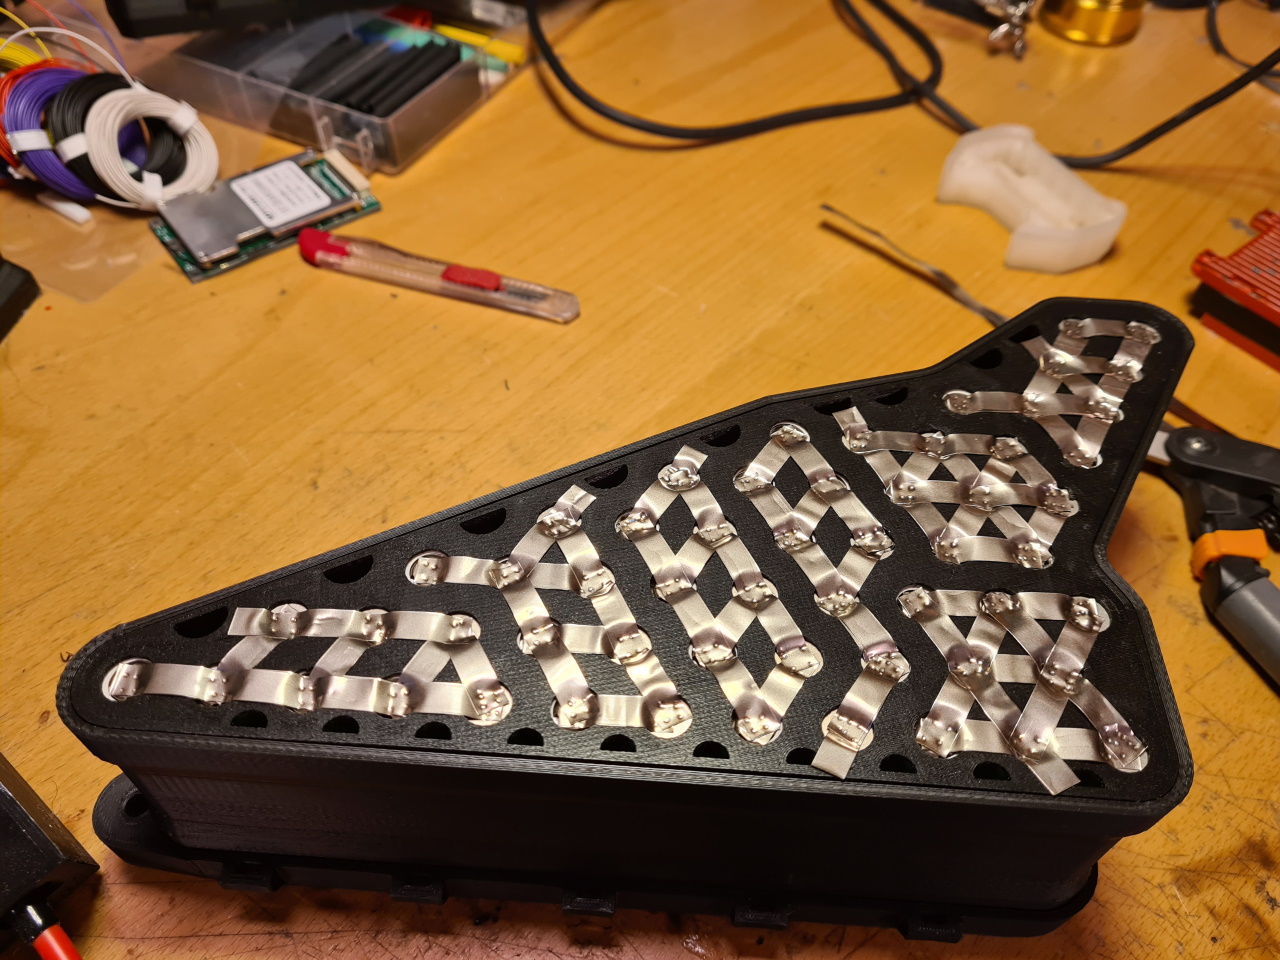
Cell frame with cells. This was actually the first time I tried the frame-joiner-frame pack type due to a total lack of space in the frame. This time we wanted more speed so we decided to go with a 14s4p pack to get a 52v battery. The problem using only 4 cells is the low capacity of the pack so this time we built it on LG MJ1 cells with a 3500mAh capacity and 10A continuous power output yielding a 52v pack with 14Ah capacity capable of 40A output. This is more than enough for the BBS02 and even after upgrading to the BBSHD (after messing up a controller) the battery doesn’t even sweat power wise.
The joiner is installed over the frame with cells. Take note on the cell configuration. I’m trying, even though it’s sometimes hard, to get as good a serial connection as possible throughout the entire pack. For a 40A pack like this I want to get at least 4 or 5 serial connections with my 0.2 x 8mm nickel strips which means I often have to put several layers of nickel on top of eachother.
Other side cell frame put in place. It’s such a tight fit that I sometimes have to put the pack on the floor and use my weight to evenly push the frame onto the cells.
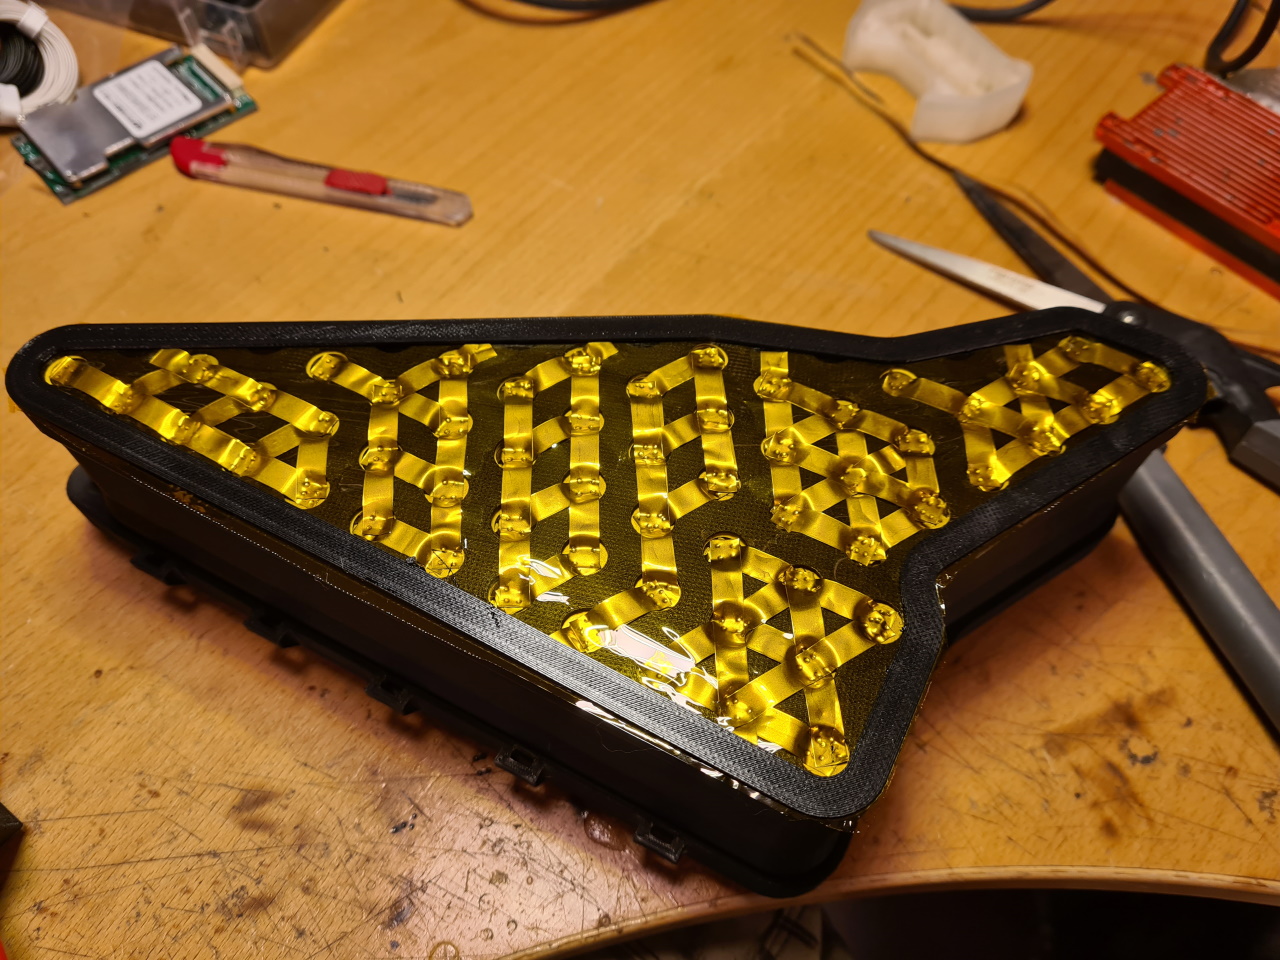
Welding and adding insulating kapton tape on the side of the battery before turining it around to weld the other side. I take real good care not to accidentally short the pack out. Shorting it out is REAL unpleasant and bad for the cells too..
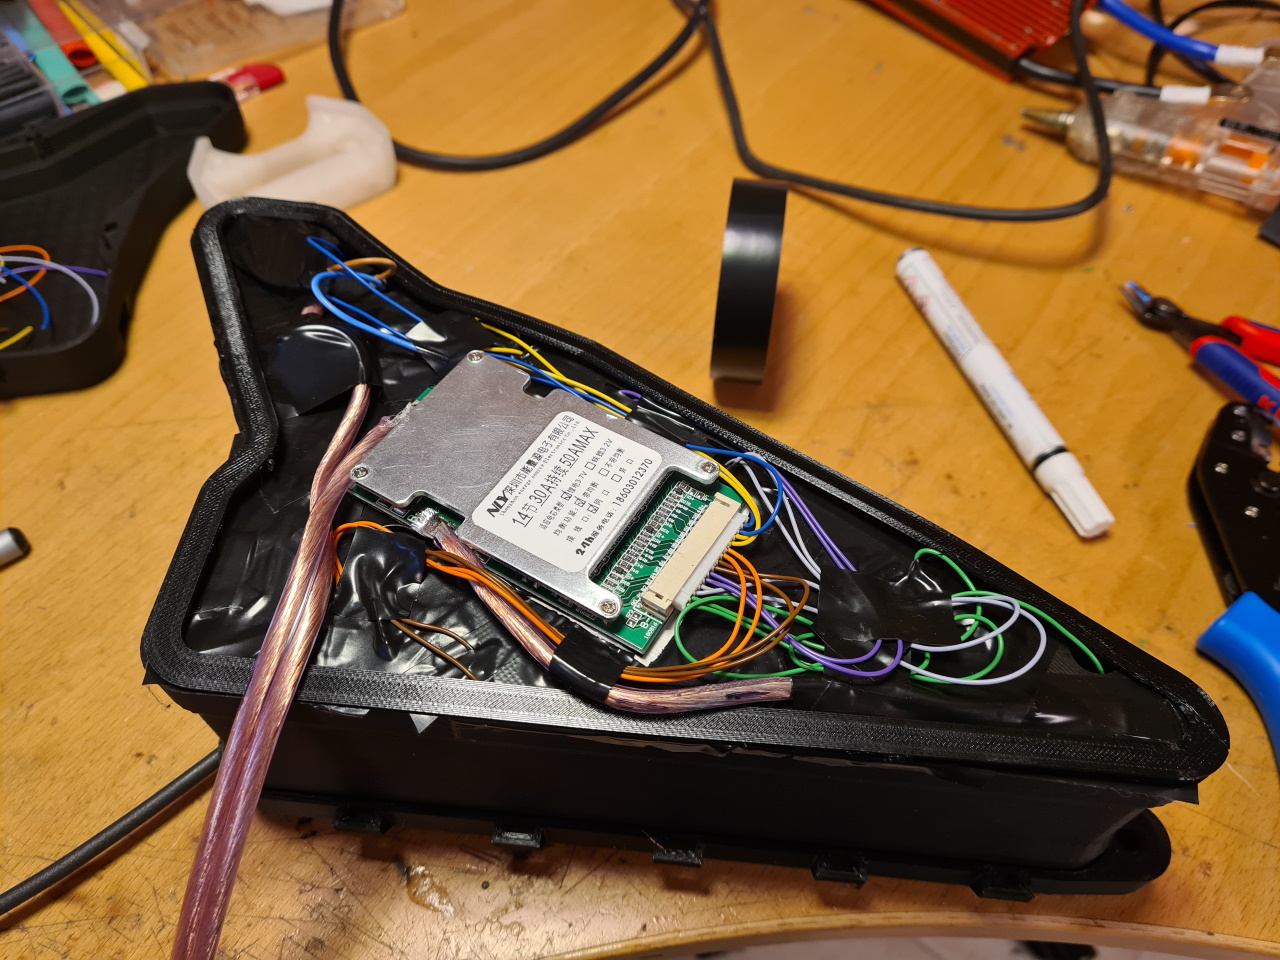
After insulating the pack more with tape which I like to put between the cells and any leads running over it, I add the BMS to the side of the pack and then close it all up.
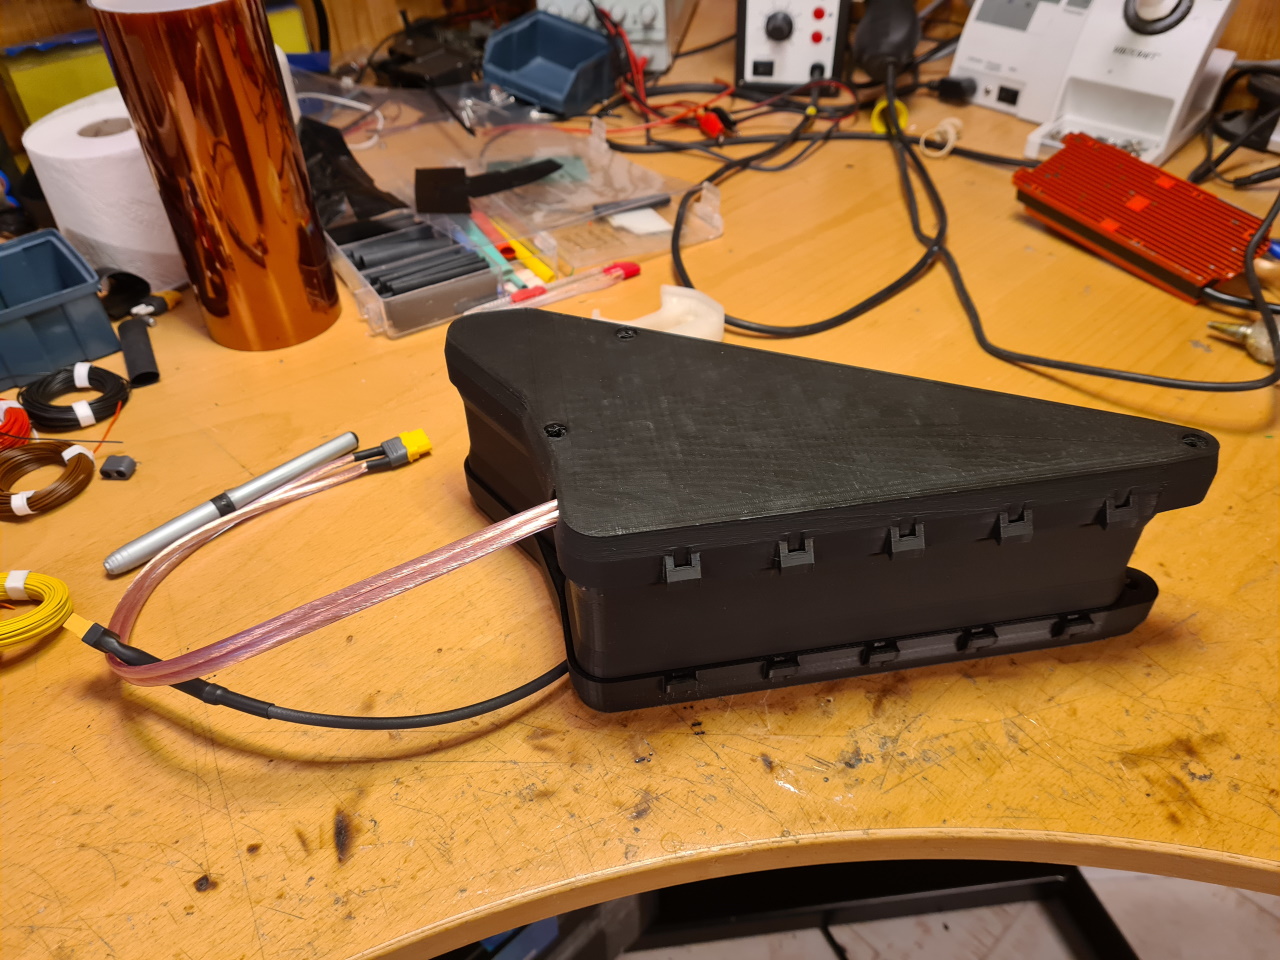
He did not want any logo on the side of the battery so this is how it turned out. Works flawlessly but 14Ah is a bit on the low side with the type of riding we do now so for next summer we’ll revisit this bike and somehow fit an even larger pack on there.
